DIY Projects,  Home & Interiors

What you should know about DIY home improvement!

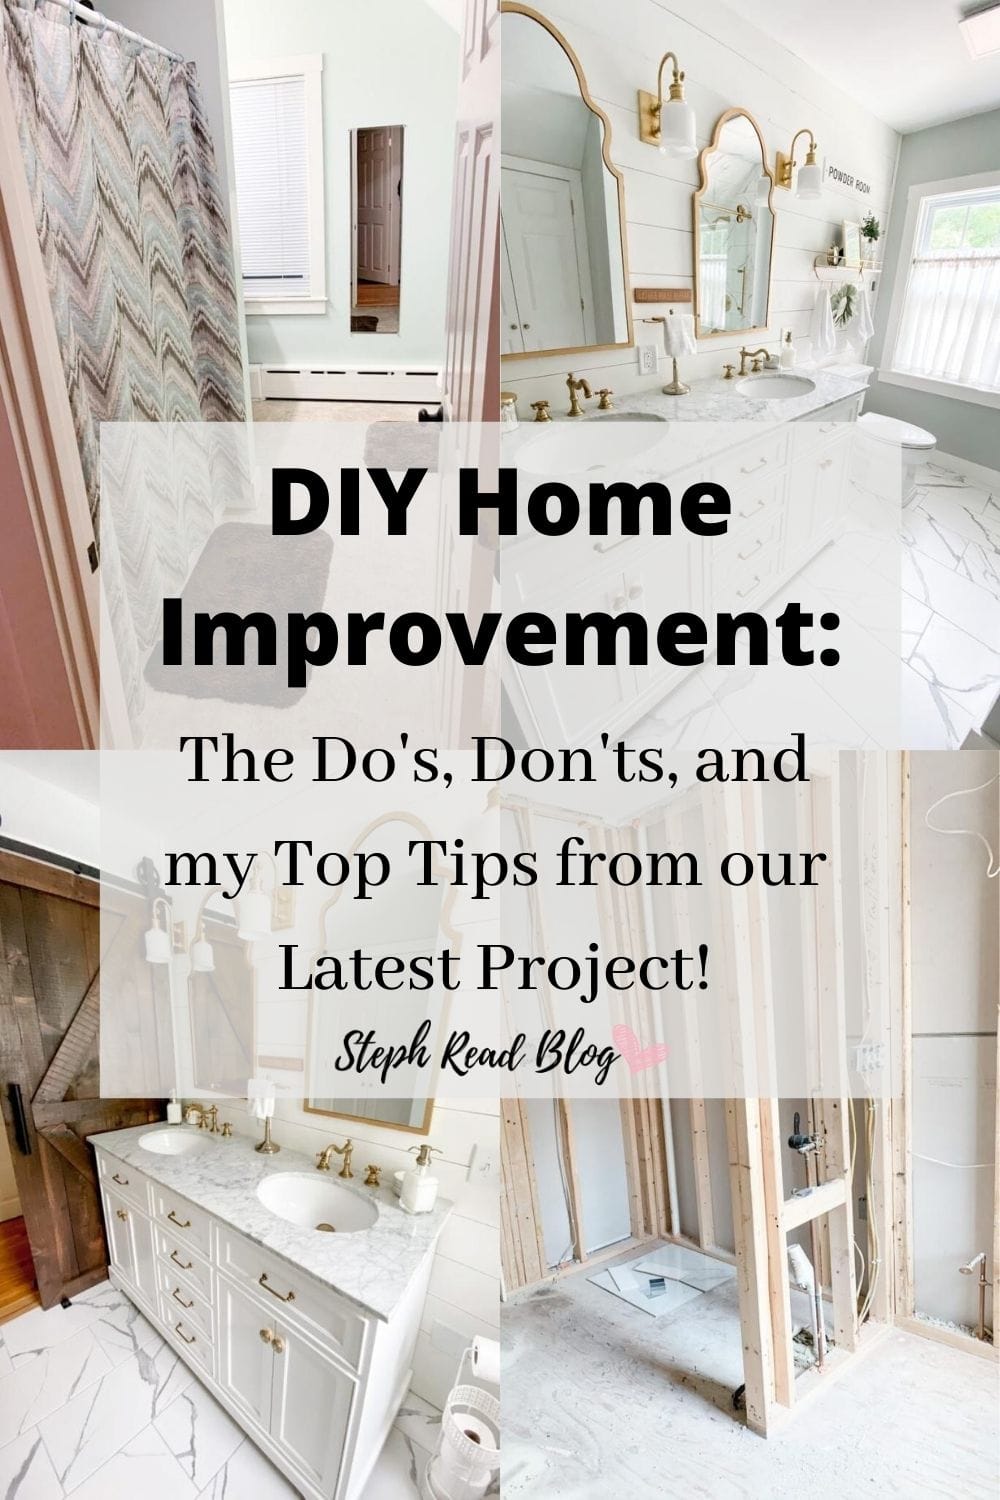
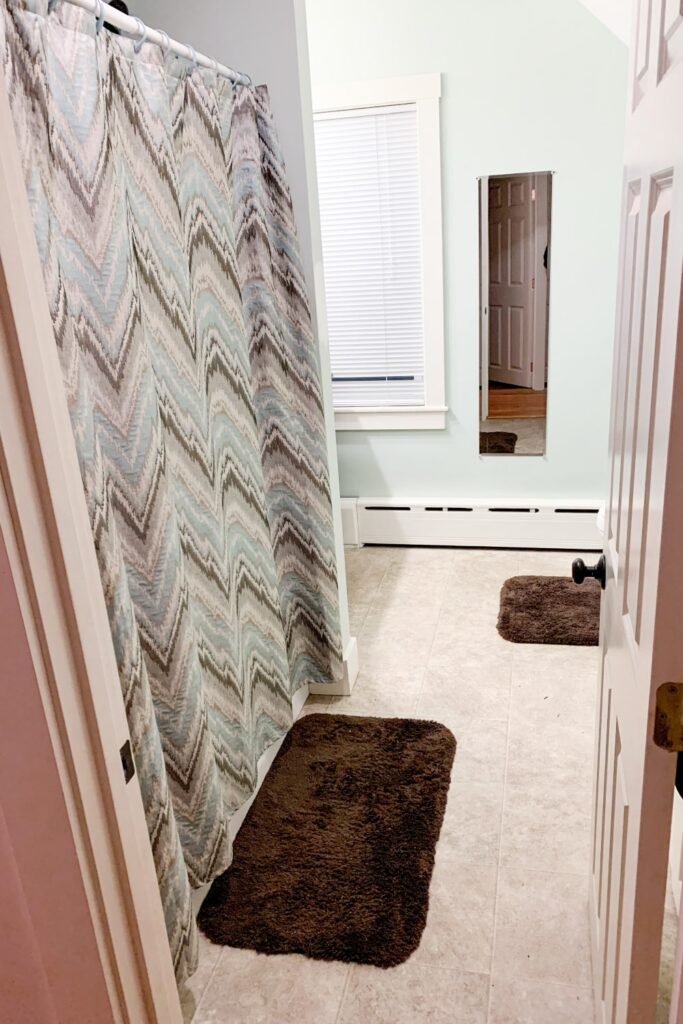
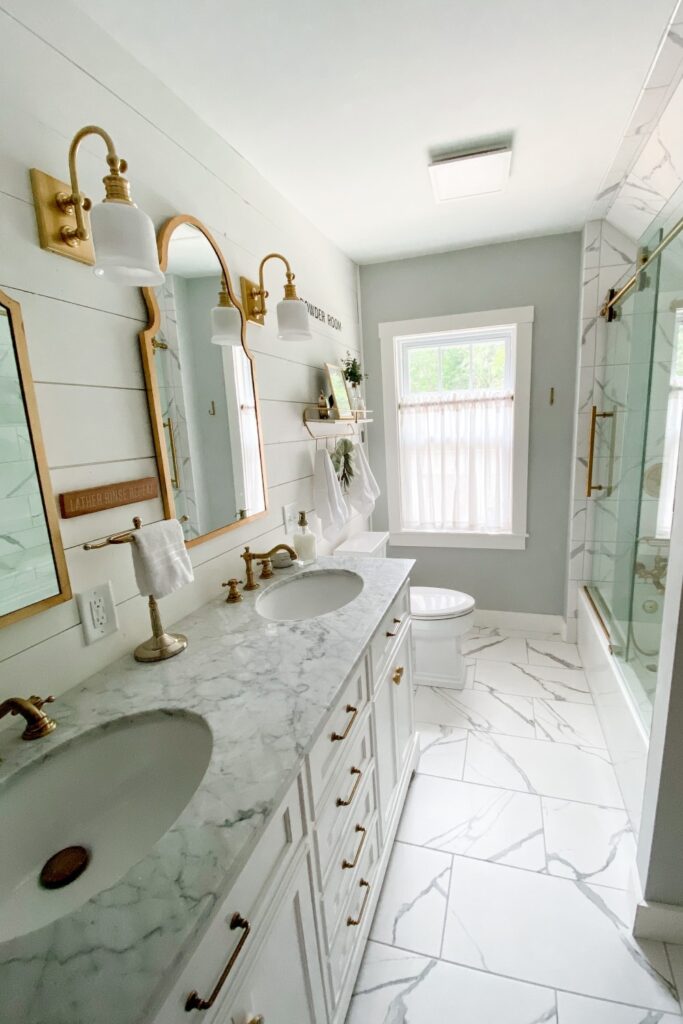
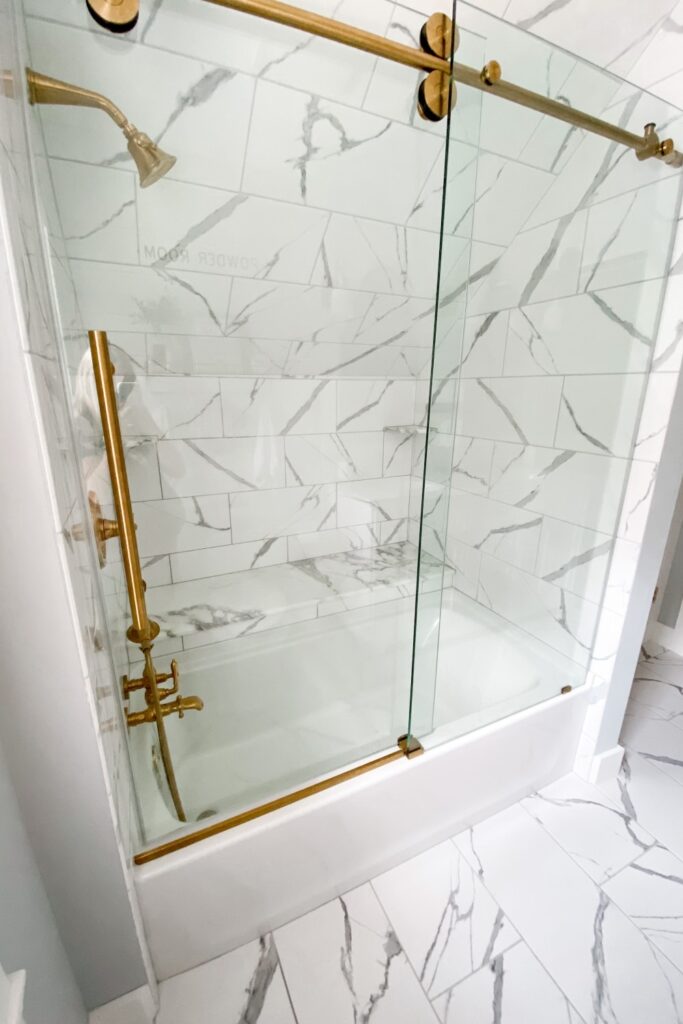
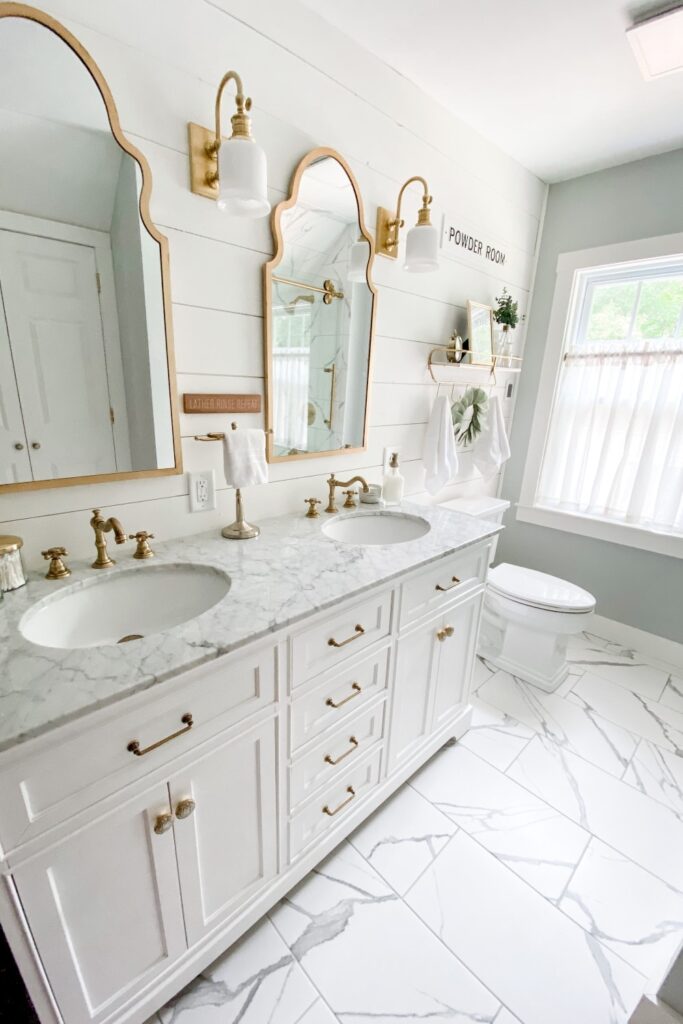
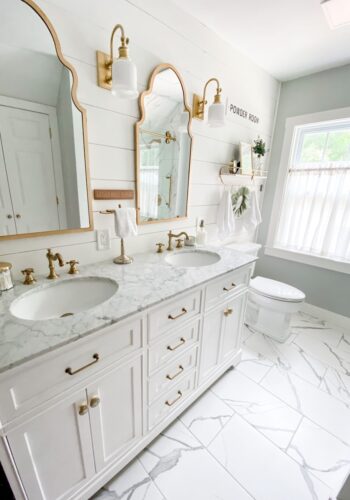
Are you thinking about taking on a big DIY home improvement project? If so, make sure to read on for the 10 things we learned during our recent bathroom renovation! If you missed our Modern Farmhouse bathroom renovation, you can find that here! I talk a little bit more about the renovation process and of course, show the much awaited before and after pictures!

Taking on a home improvement project can be very tedious, and of course, EXPENSIVE! This is when a lot of do it yourselfer’s, like myself, want to jump in to save the day and as much of their bank account as they possibly can lol. 

We started our recent bathroom project with the mindset of doing the majority of it ourselves, but quite a few things came up along the way that changed our mind and made us do things differently! 

I figured the least I could do is share the top 10 things we learned along that way that will hopefully help you with your upcoming home improvements projects or at least give you a little bit of heads up on what is to come and what to look out for! 

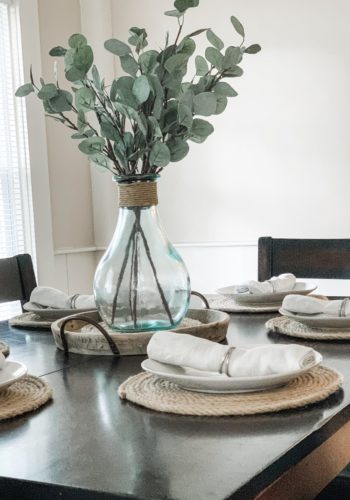
I am constantly thinking of ways that we can update/improve our home on our own for little expense. That is why I love decorating so much because I can constantly shop around for little pieces that are inexpensive but will make a huge statement in our home. Plus, doing things yourself help to make a house feel more like home in my opinion! There isn’t any feeling quite like looking at the finished product and knowing that you did it all yourself, it’s so rewarding!

What we learned during our bathroom renovation project: The Do’s, the don’ts & my top tips for DIY vs. Outsourcing.

1. Set a timeline and STICK TO IT.

This one is pretty simple but I cannot express the importance of this! These kinds of projects can take FOREVER if you let them, we would know haha. Choose a deadline and make sure you plan ahead! But be realistic with your timeline so that you aren’t killing yourself to get it done on time. Also, remember that things come up and plan accordingly. Keep the end result in mind for some much needed motivation, because you will need it!

BEFORE
AFTER
2. Figure out a budget number and then add $5,000 to it.

This may seem a little excessive but it’s no joke.

I guess a better way to say this is to choose how much you plan on spending and be okay with going $5,000 over it, just in case! You don’t know what you are going to find after breaking some walls down. It is better to be safe and know that you will be able to cover the cost if anything does come up or if your original plan changes like ours did.

3. HGTV makes it look so much easier and quicker than it actually is.

Obviously we all know this lol. But all jokes aside, the truth is that unless you have done other big projects before you truly don’t know what what to expect. Plus, an hour show that shows you a whole house reno from start to finish is only showing you the highlights. Your own renovation is going to go very differently. Unless you are Chip Gaines, of course 😉 

4. If there are areas that you know how to do and are willing to spend the time to save yourself some bucks, do it!

Just make sure you know the value of your own time! That may sound weird, but time is money! If it is going to take you way longer to do it yourself you may want to weigh the pros and cons of hiring someone else to do it! If you are like me, time is something you are willing to spend in order to keep the costs down, but I also usually don’t have anything else taking up my time that is very pressing. 

Whatever you do choose, just remember that hard work always pays off, even if it doesn’t feel like it in the moment.

5. Demo and paint were the two parts we fully took on ourselves.

I recommend laying out your plan before starting anything and deciding which parts you plan to do yourself and what you may need some help with!

Demo and painting are two areas that we were comfortable with taking on from start to finish. My husband has lots of experience with demo. Plus, demo is debatably the funnest part of the job, I mean.. who doesn’t love swinging a hammer at a wall?! Just make sure you know what you are swinging at lol. 

I have lots of experience with painting so I decided to take this part on! Even if you aren’t a pro painter or haven’t ever picked up a paint brush, this is something that is very easy to learn! See my How to paint a room like a professional post for a step by step guide and products I recommend!

6. Pick out everything (or almost everything) you want ahead of time!

COVID really threw us for a loop on this one! We decided to wait last minute to pick out our main fixtures, which just happened to be at the start of the pandemic. Obviously we couldn’t predict that that was going to happen, but it would have been nice to have the parts readily accessible when we needed them! Needless to say, this caused us some unnecessary delays that could have been avoided had we done this beforehand or immediately following demo.

Learn from our mistakes! 

7. Take the age of your home into consideration prior to the project!

This will help you realize some potential problems you could run into that may cost you more than you were planning. Hence the $5,000 added for contingency lol. Always have a contingency fund! Working in construction (and watching a fair amount of HGTV, LOL) has taught me this. 

8. Spend the extra money where it really counts!

]For us, this was the tile installation. Sure we could have done this ourselves or hired a sub par contractor to do it for cheap, but this isn’t something that we specialize in. Our house was built in the 1890’s, so we had a lot of issues with the floors being level with all of the shifting that has happened over time. If your house isn’t ancient like ours you may not have this problem!

But we spent a little extra on the floor and wall tile and it would have been a bummer if we had to rip it up to fix any issues in the future because we wanted to save some money up front.

We chose to have someone that we knew did AMAZING work do it for us. Even though we paid a little bit more upfront, it will save us from having to worry about any issues in the future. 

And boy… the tiling was a PROJECT in itself! I mean just look at how amazing it came out!

9. Pick out things that you love, End of story.

If you are taking on an improvement project it is clear that you don’t love what is there already OR you know that it could be so much better. Choose finishes that you love, ones that give you all the heart eyes every time you look at them! After all, you are going to be seeing them all the time, you might as well love what you are going to be looking at!

10. Gold finishes cost A LOT more.

I couldn’t leave #9 hanging without at least a little warning about gold finishes! This may be expected by some, but I really didn’t even think about it until the time came to picking out our shower fixtures, etc. There are plenty of items that you can get for the same price as other finishes but the tones may be a little different and will require you to do some mixing and matching!

I did quite a bit of mixing and matching with the gold tones in our bathroom and think it worked out great! I wasn’t overly concerned about everything matching exact, as long as there was balance! 

There also isn’t as big of a variety of options for gold/brass as their is for black, silver or oil rubbed bronze. So I spent a lot of time searching the internet to find exactly what I wanted and piecing the items together to make sure they would flow! I found and fell in love with the mirror below, which is what inspired me to choose gold in the first place, and designed everything else around it! I linked all of the other items used below as well!

Our bathroom is literally everything I could have possibly dreamed of, and while it cost us way more than we anticipated and took wayyy too long to complete, I wouldn’t change a single thing! I literally stop in the doorway every time I walk by it and stare in awe because I love it that much. I told my husband that if we were to ever move one of the only requirements is that we have to recreate our exact bathroom! I don’t know if I could ever leave this one behind honestly. Looks like we are never moving!

I hope you enjoyed! Did I leave out anything that you feel should have made the list? Let me know below!

Happy renovating, my fellow DIYer’s! 

Xoxo, Steph

Leave a Reply

Your email address will not be published. Required fields are marked *

This site uses Akismet to reduce spam. Learn how your comment data is processed.