DIY Projects,  Home & Interiors

Modern Farmhouse Bathroom remodel: Before and After

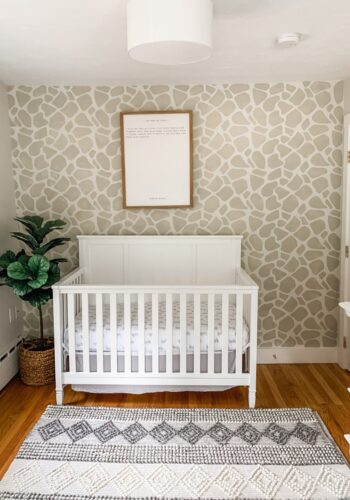
The day has finally come and I betcha thought it never would 😉 For a little while there I was a little worried we were never going to finish lol. I can’t believe I am writing this post right now, it is way overdue! BUT the project that never ends has finally come to an end… just in time to finish up our nursery for little man who will be here in 10 weeks. 10 WEEKS! Luckily, that project isn’t nearly as involved and we already have most of the pieces we need, whew. 

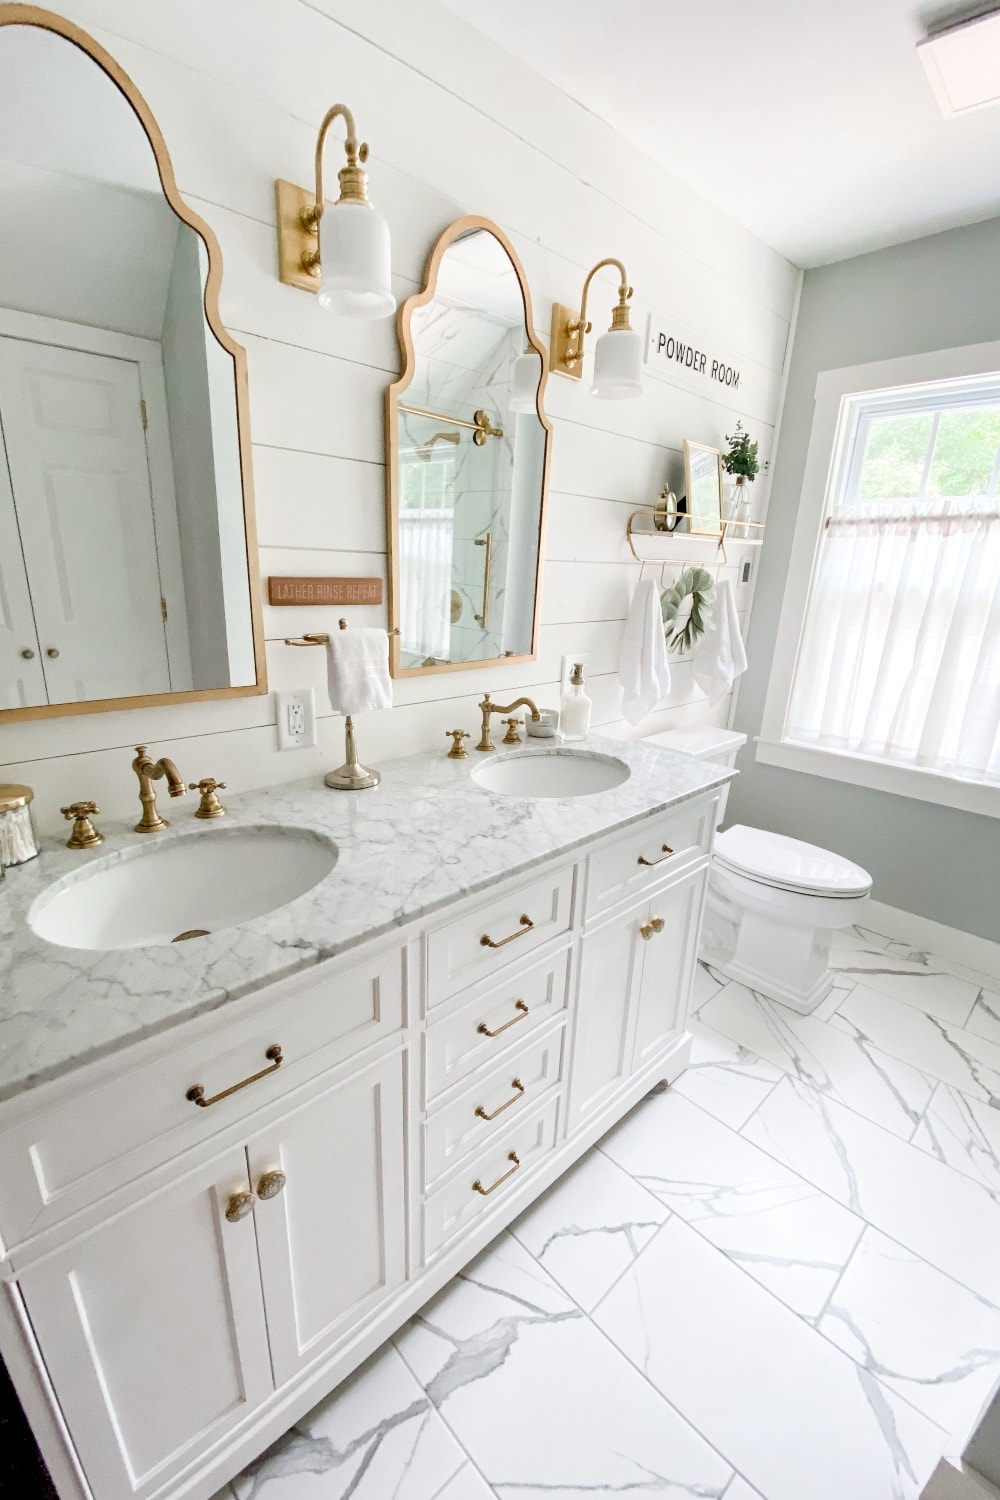
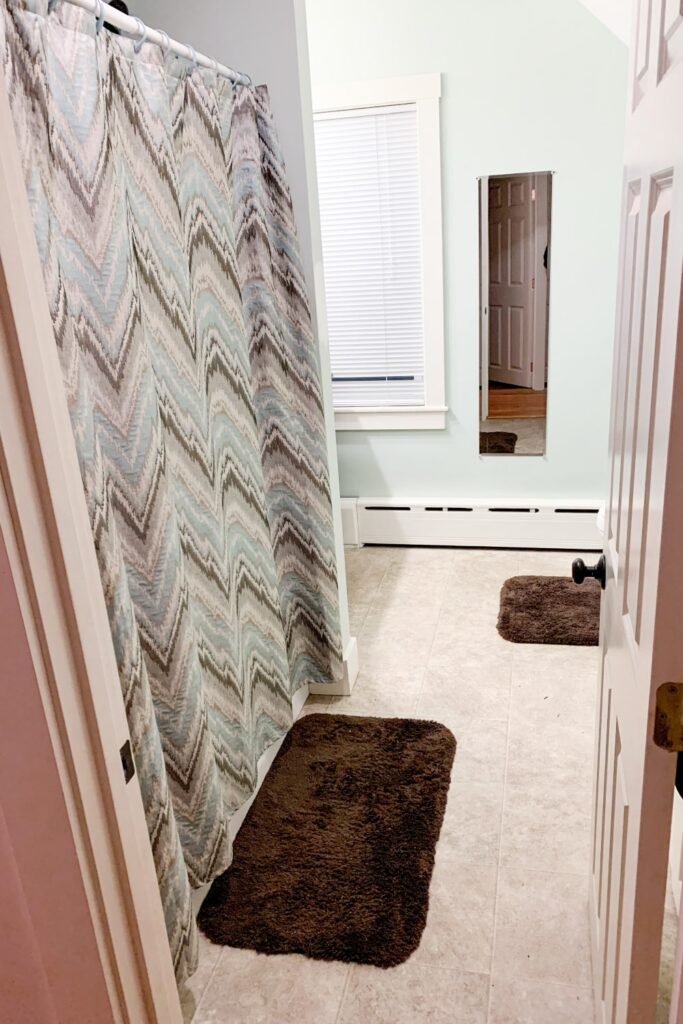
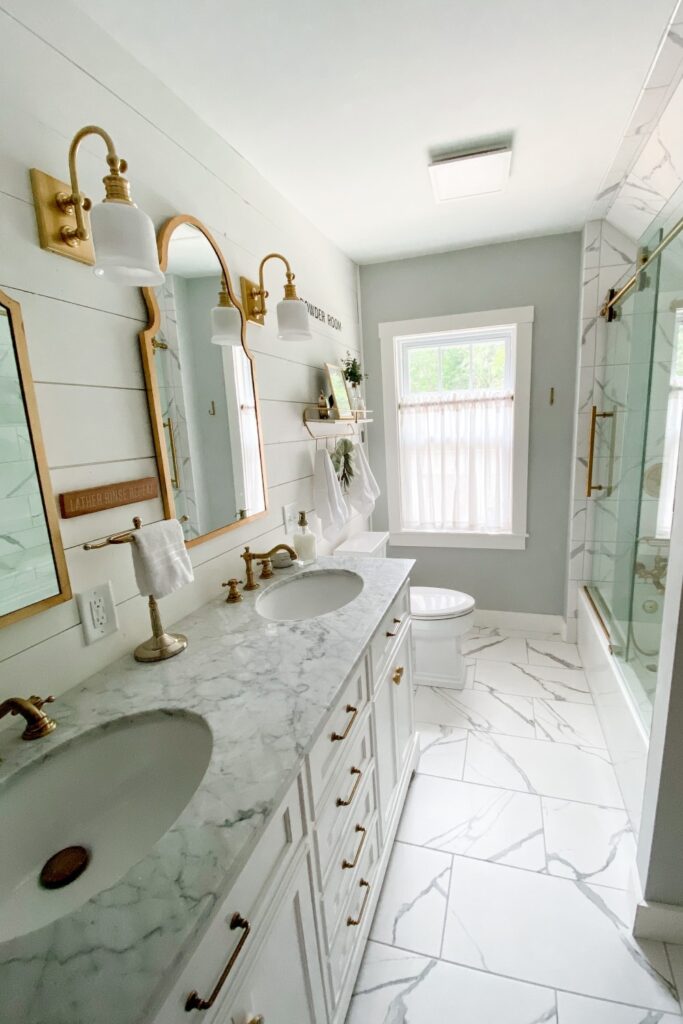
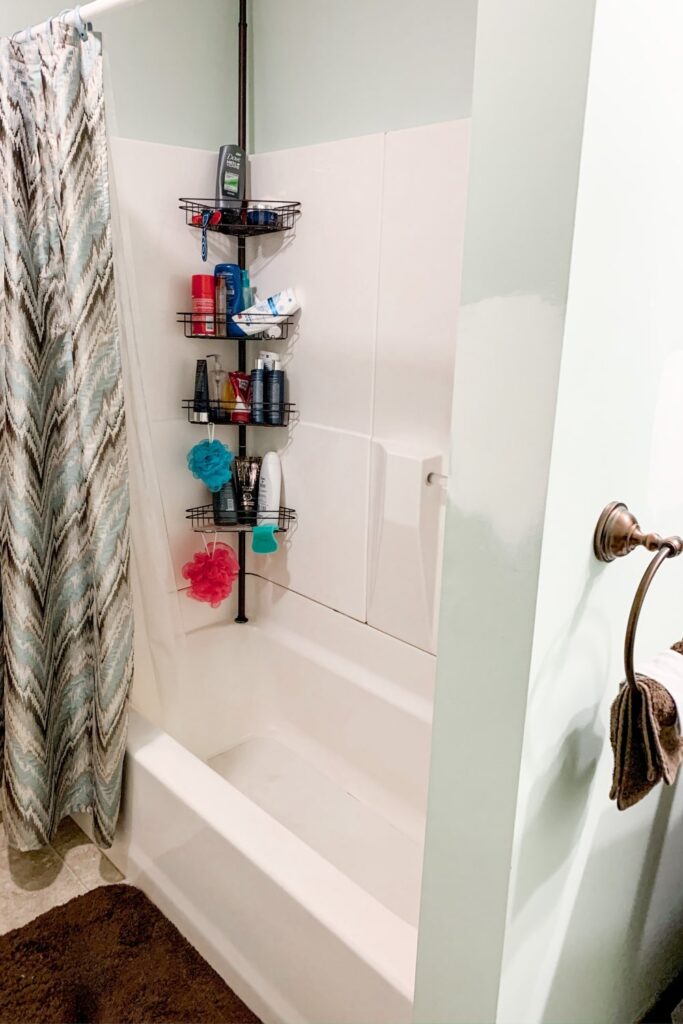
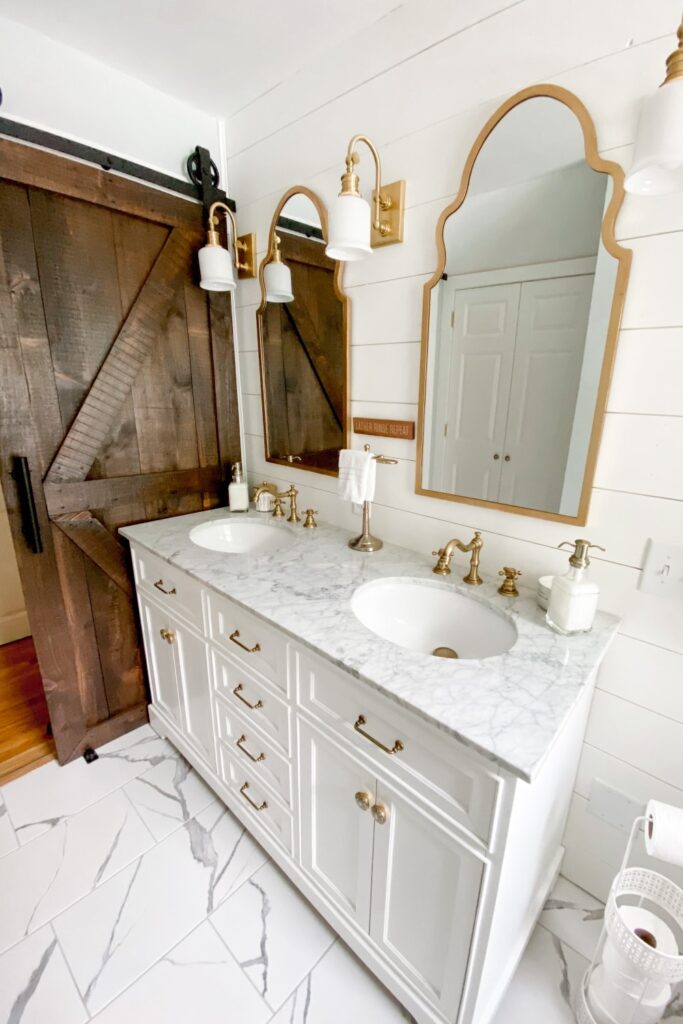
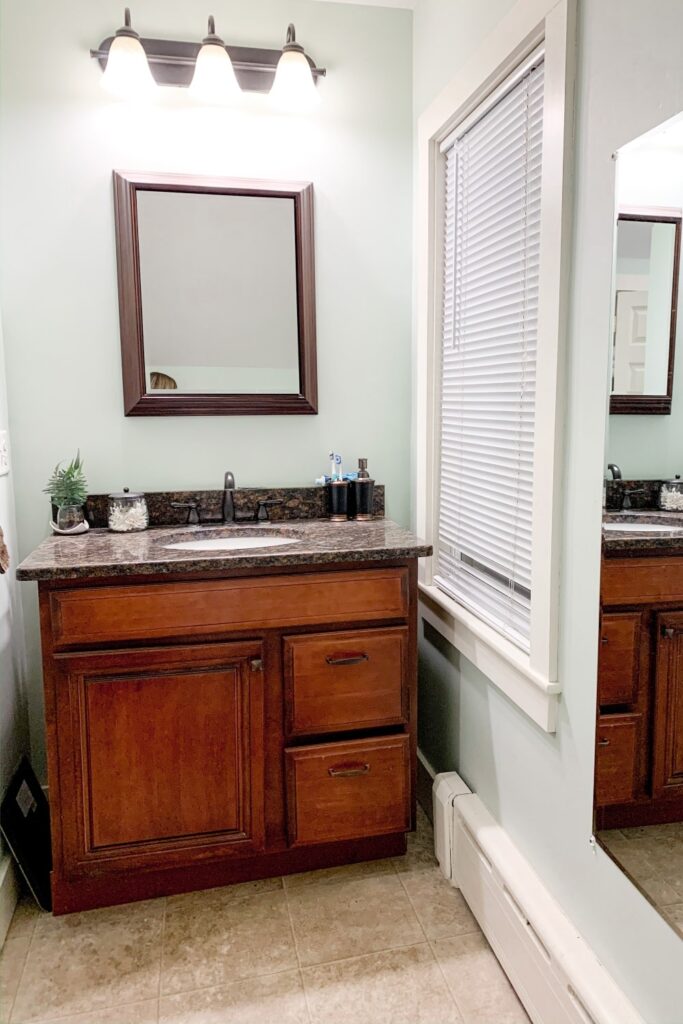
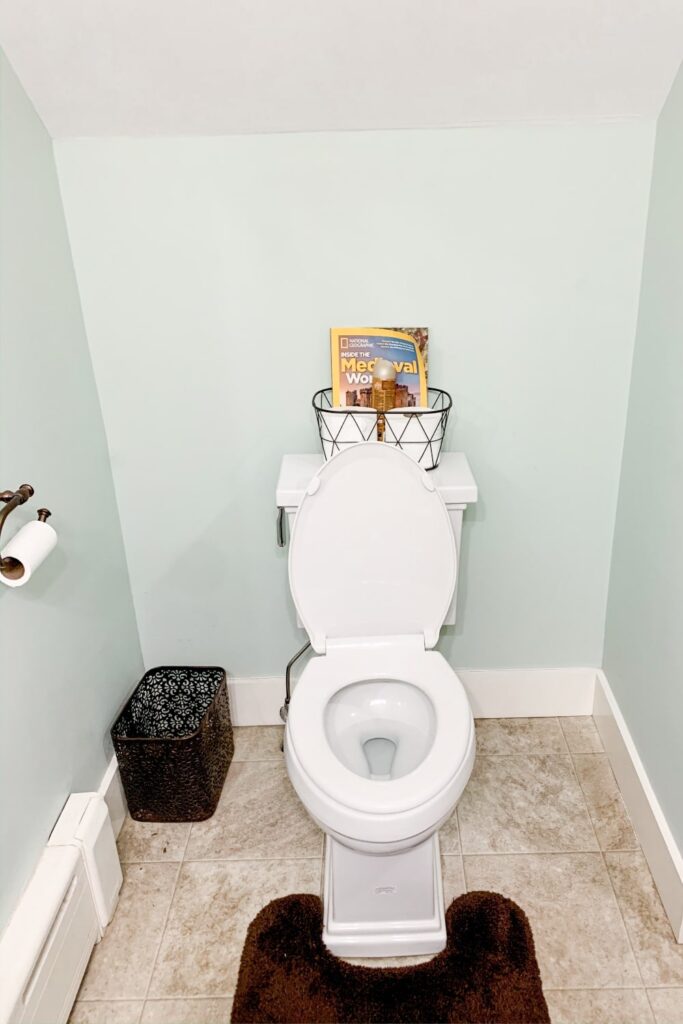
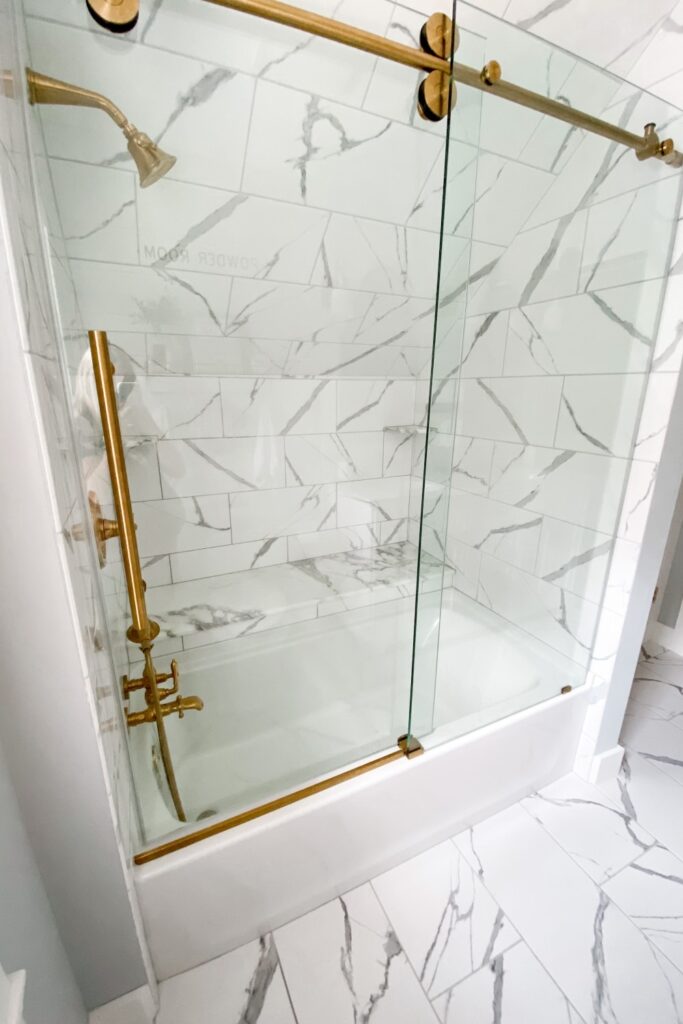
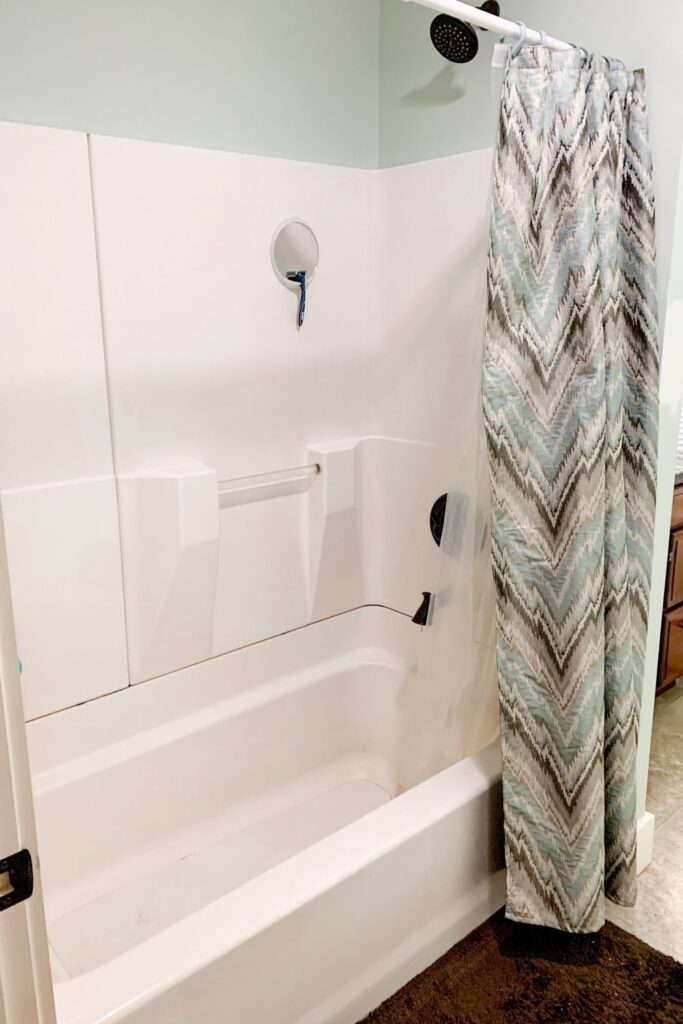
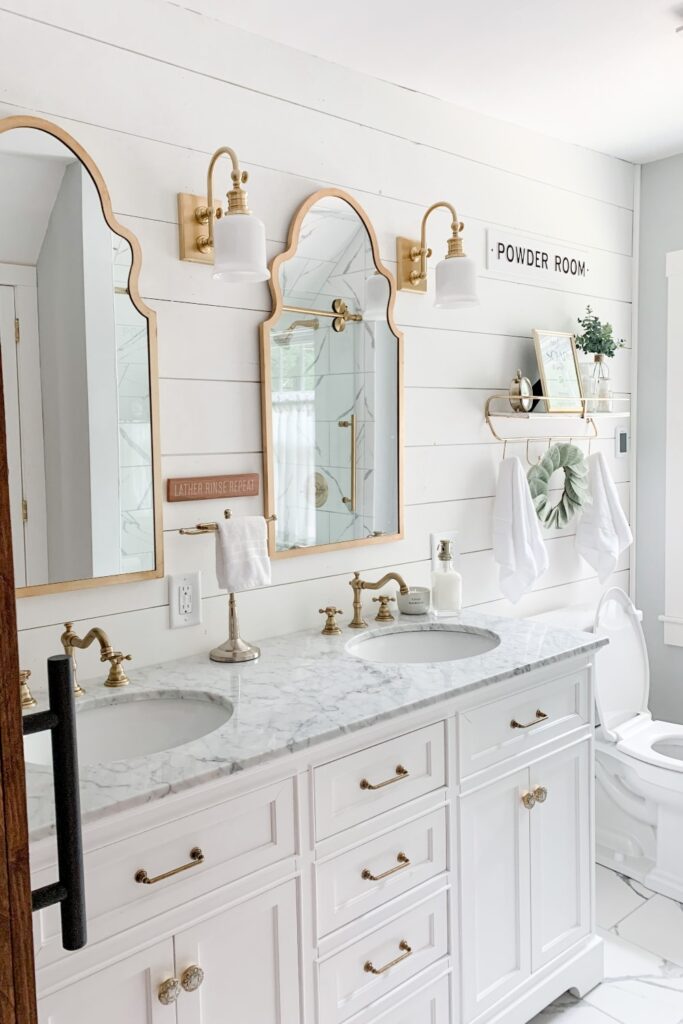
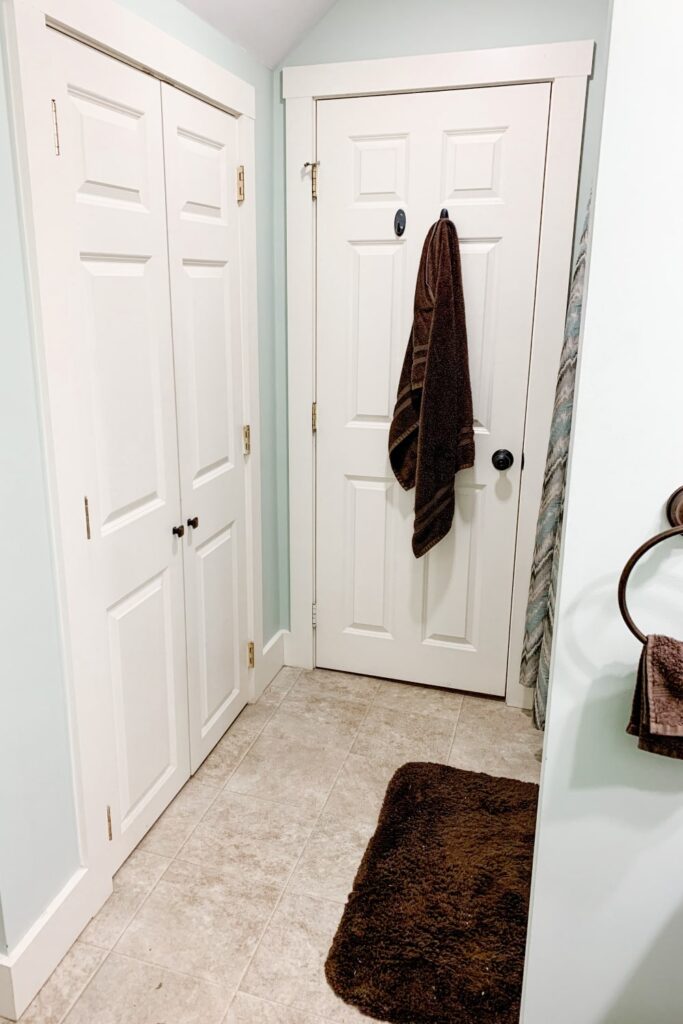
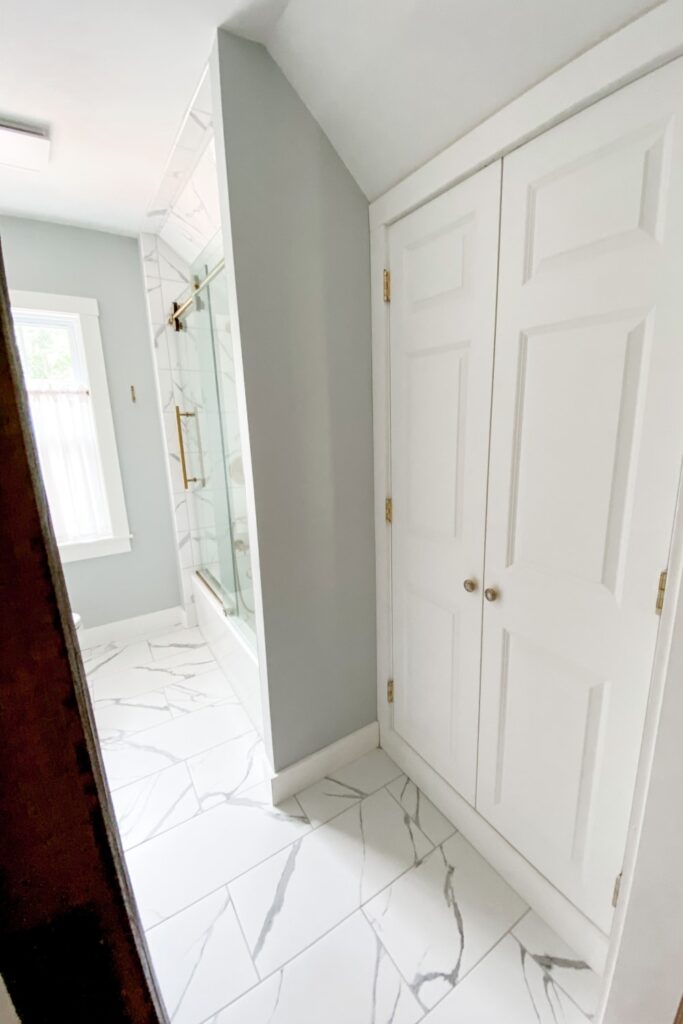
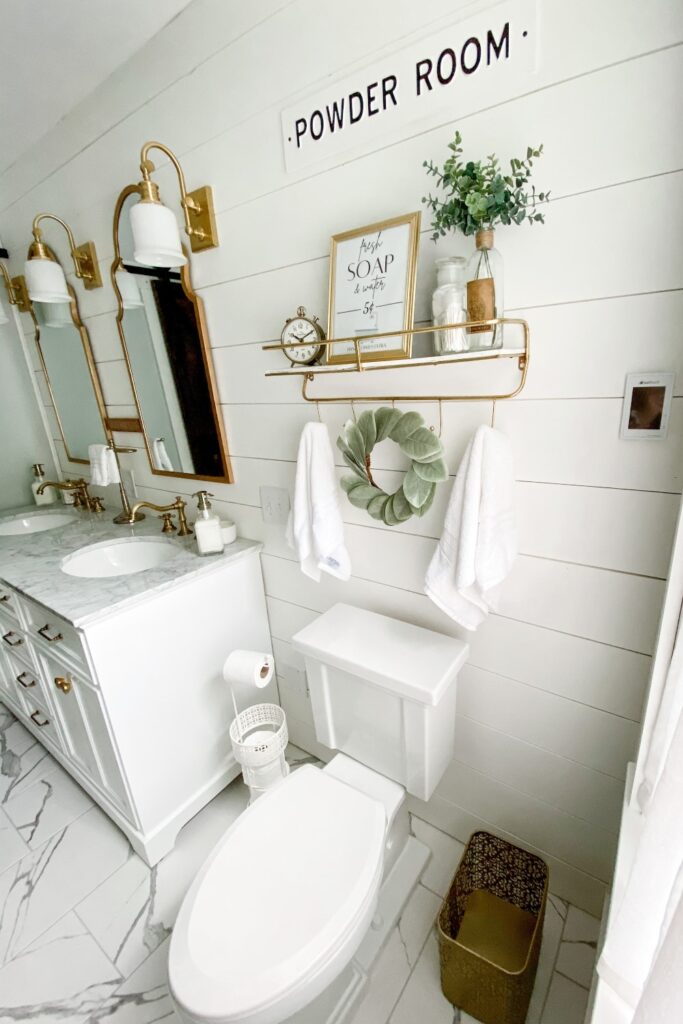
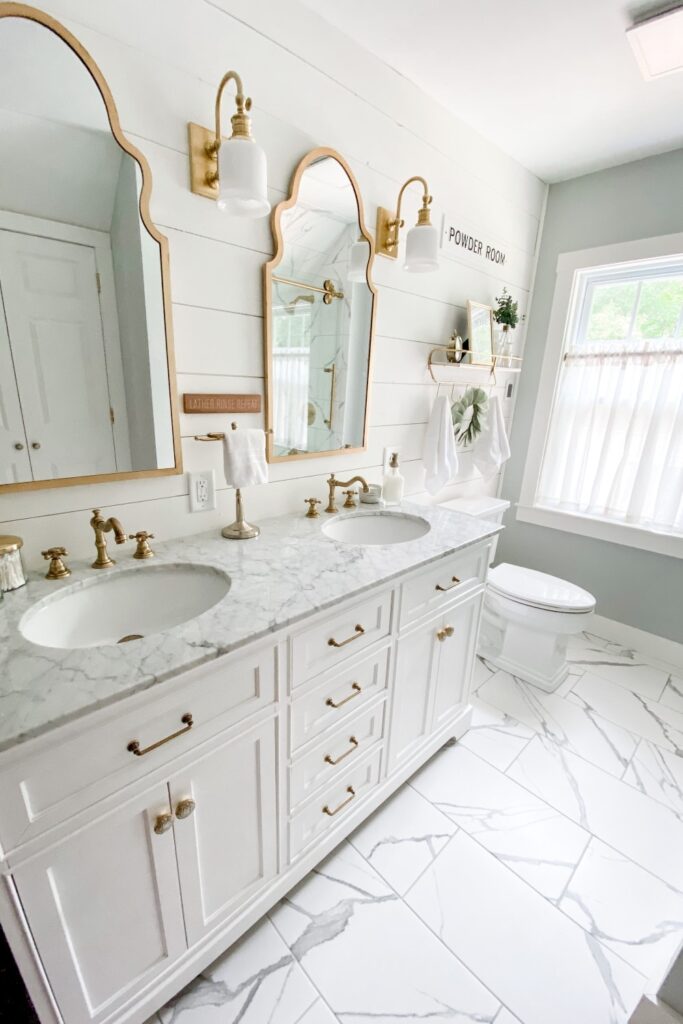
Alright, drum roll please…….Today I bring you our modern farmhouse bathroom remodel, complete with before and after pictures. Prepare to be mind blown! I’m not even going to say when we started this project because it is honestly embarrassing. It isn’t all that surprising when you throw all of the changes into the mix that we made, and then there’s corona, which came in to help delay the project a little further. Still.. there are no excuses because we 100% dragged it out way too long. But we made it to the light at the end of the tunnel and I wouldn’t change a single thing!

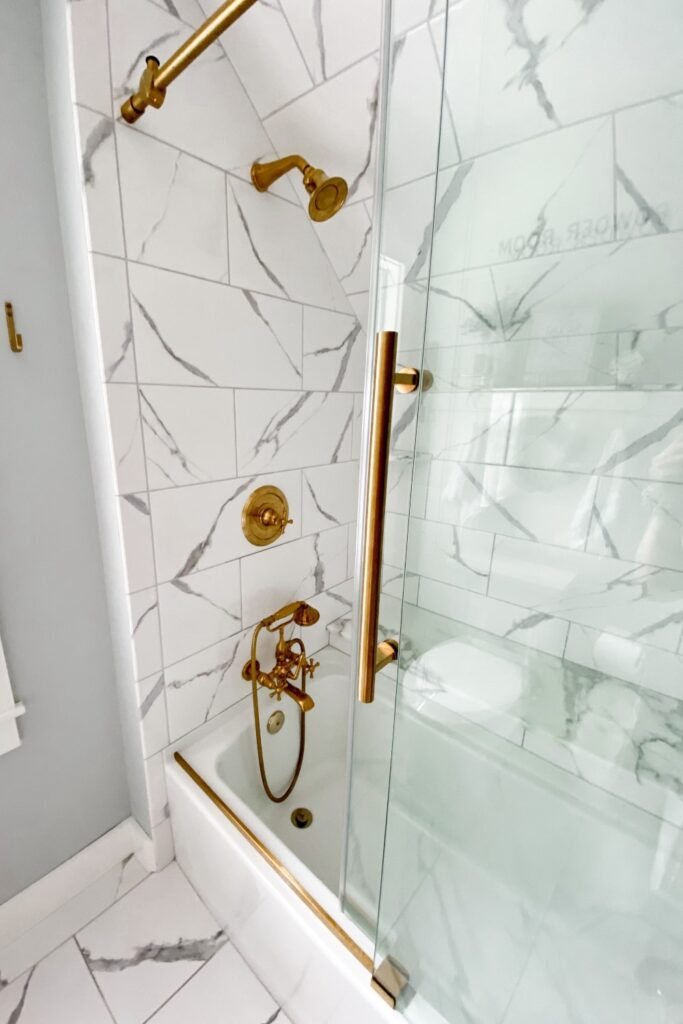
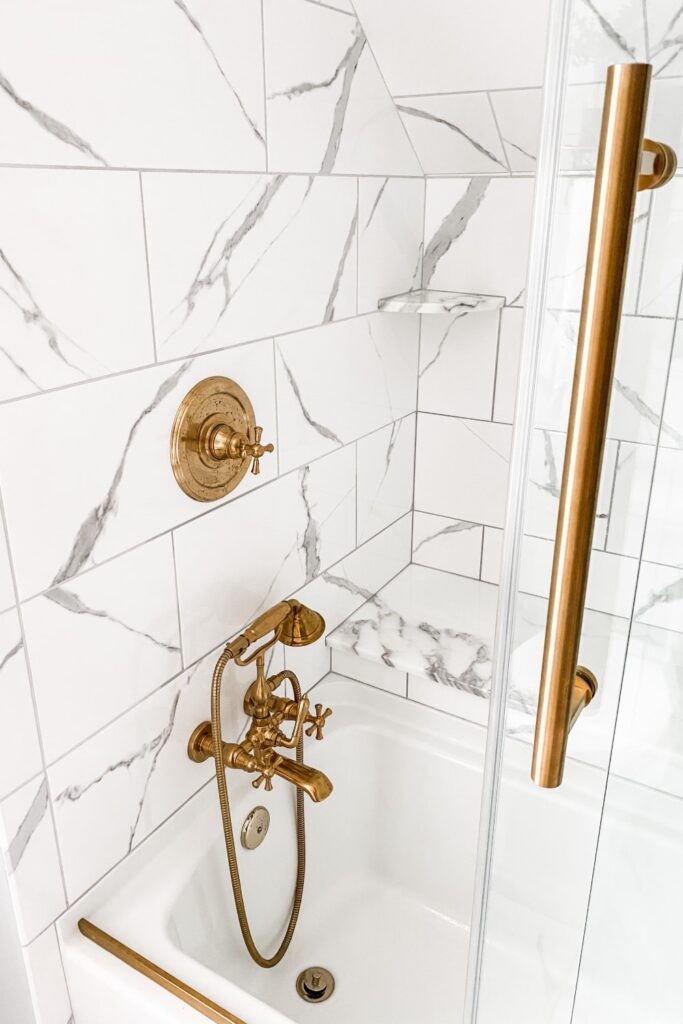
Our bathroom remodel was a mix of DIY + help from others who specialized in the super important areas, such as the plumbing, electrical and tile work. 

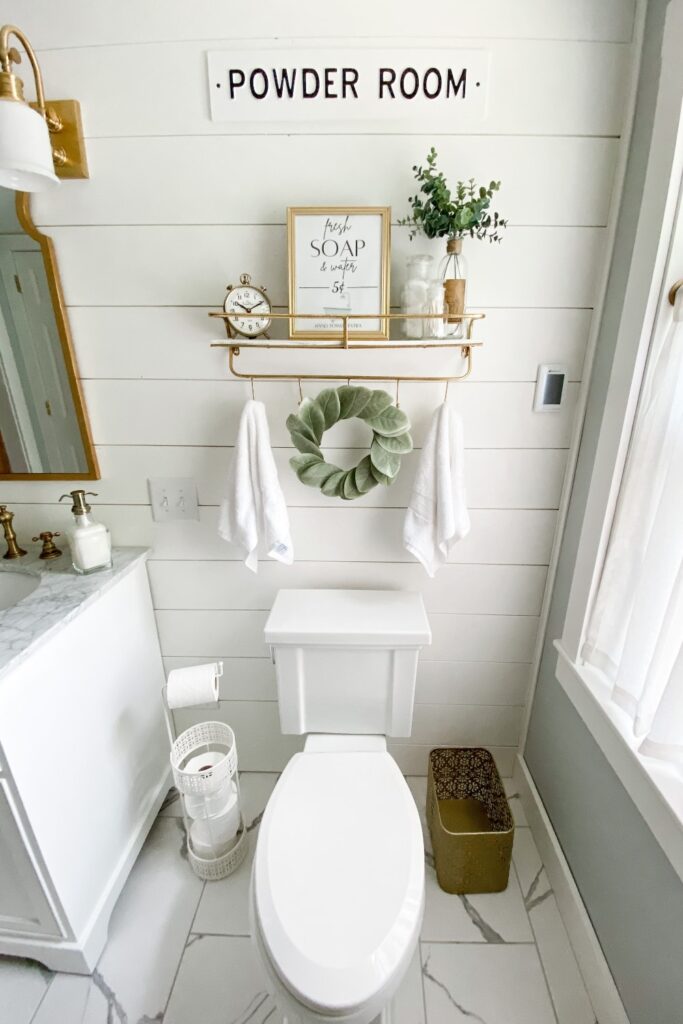
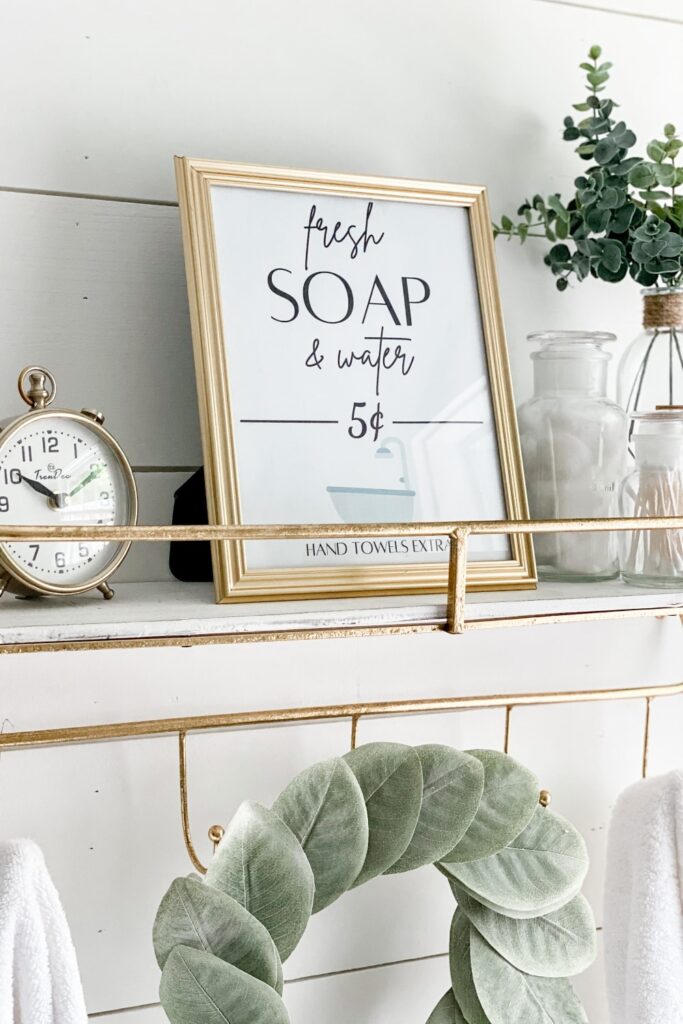
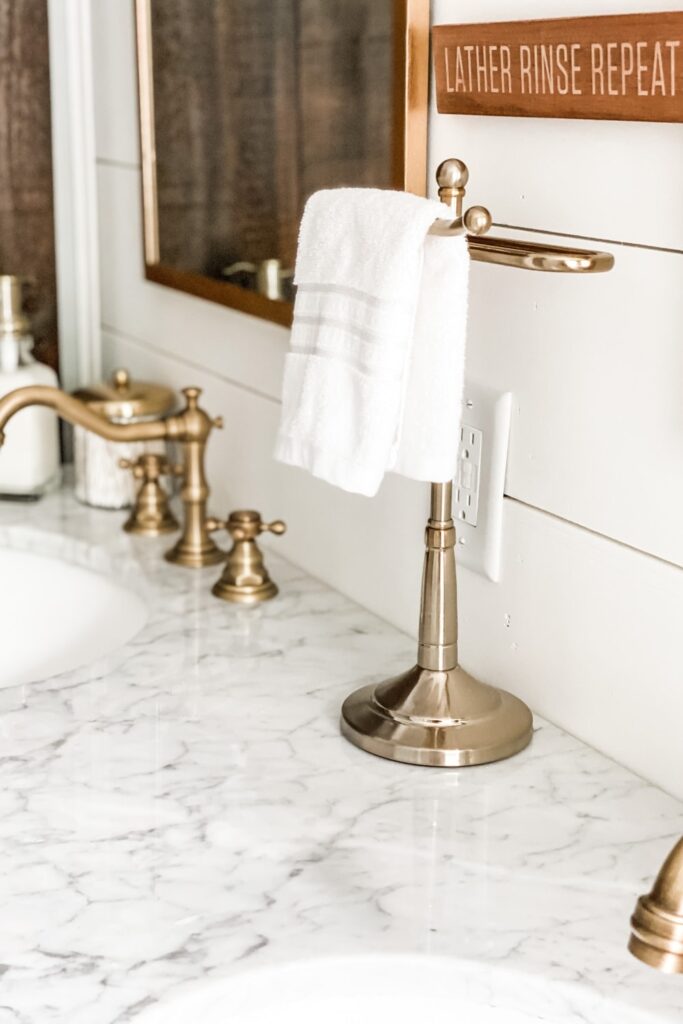
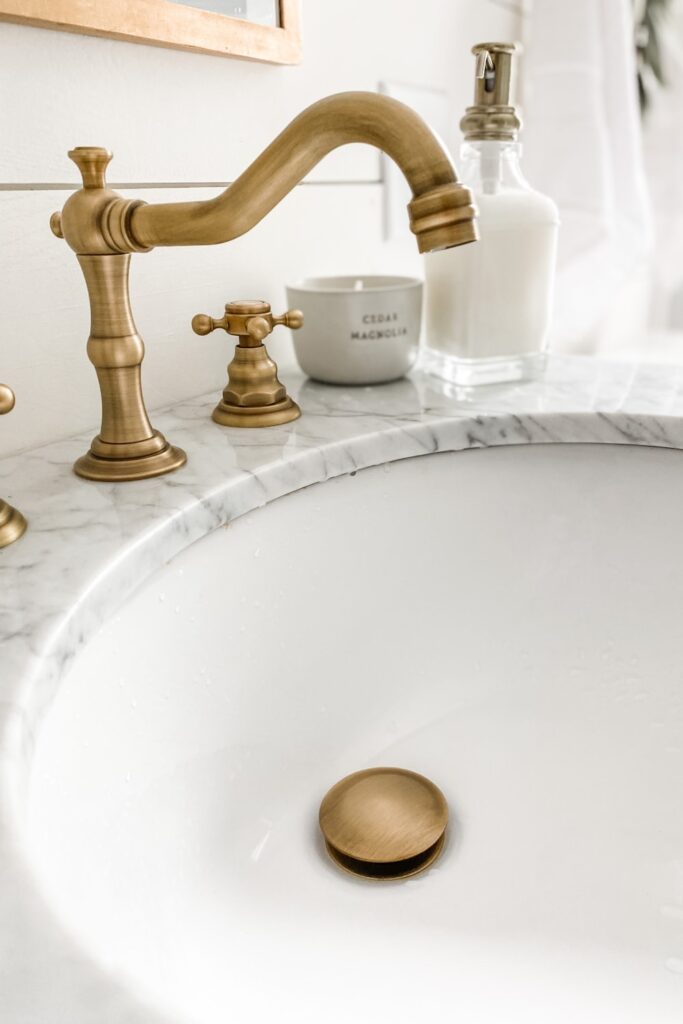
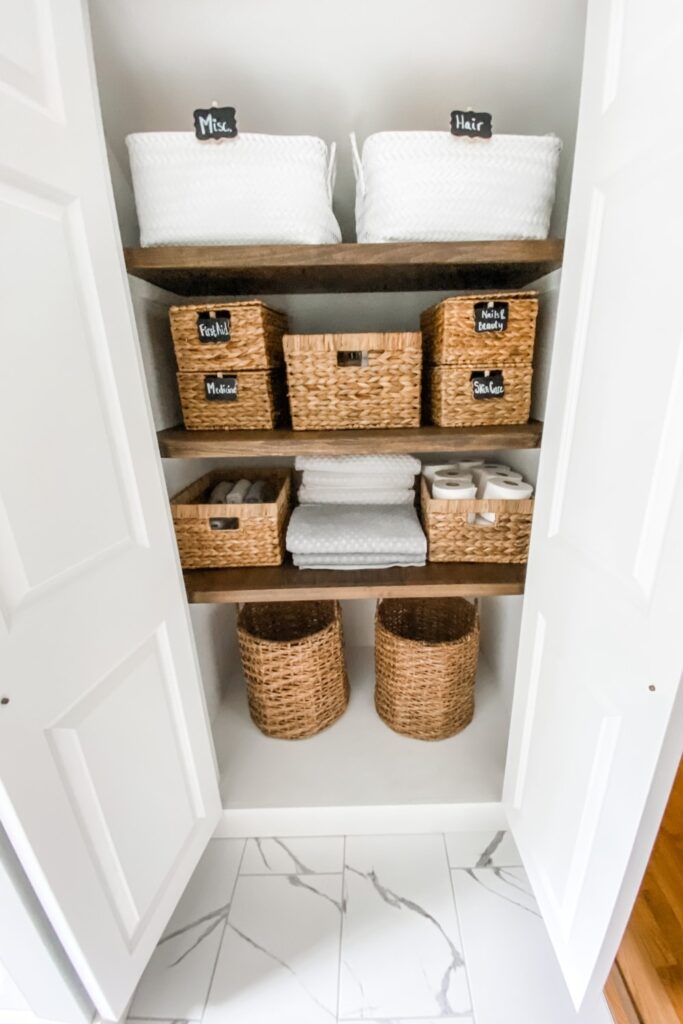
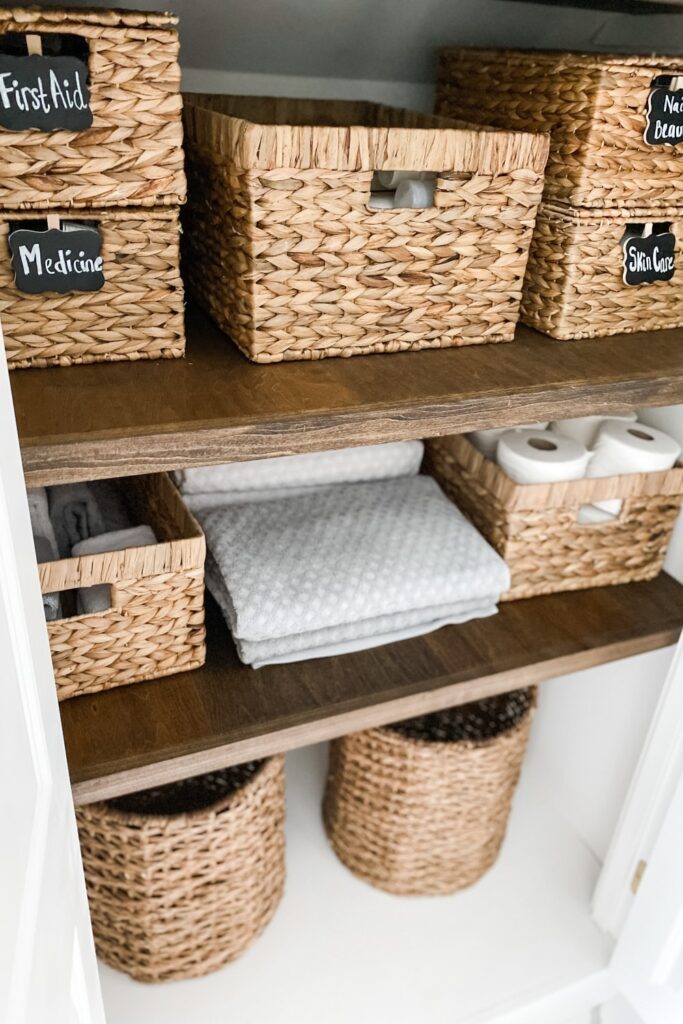
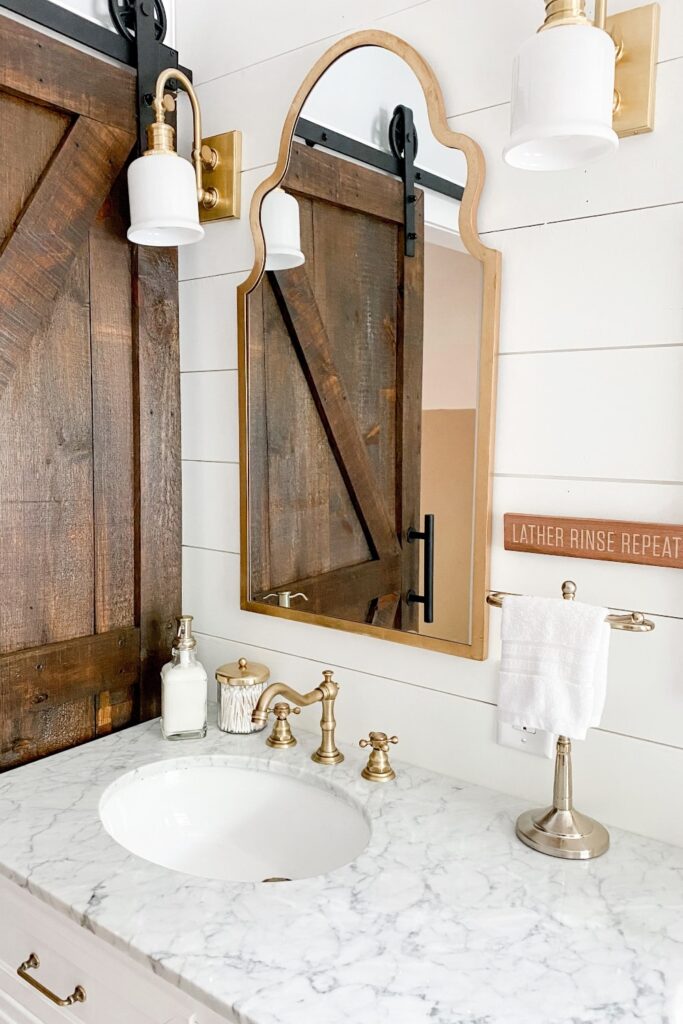
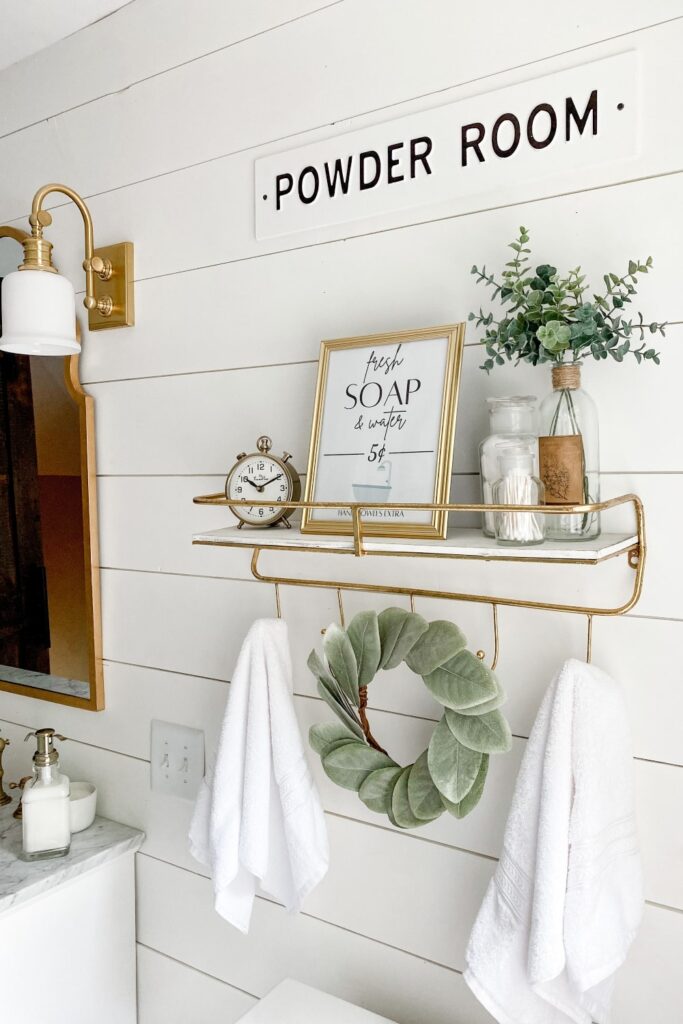
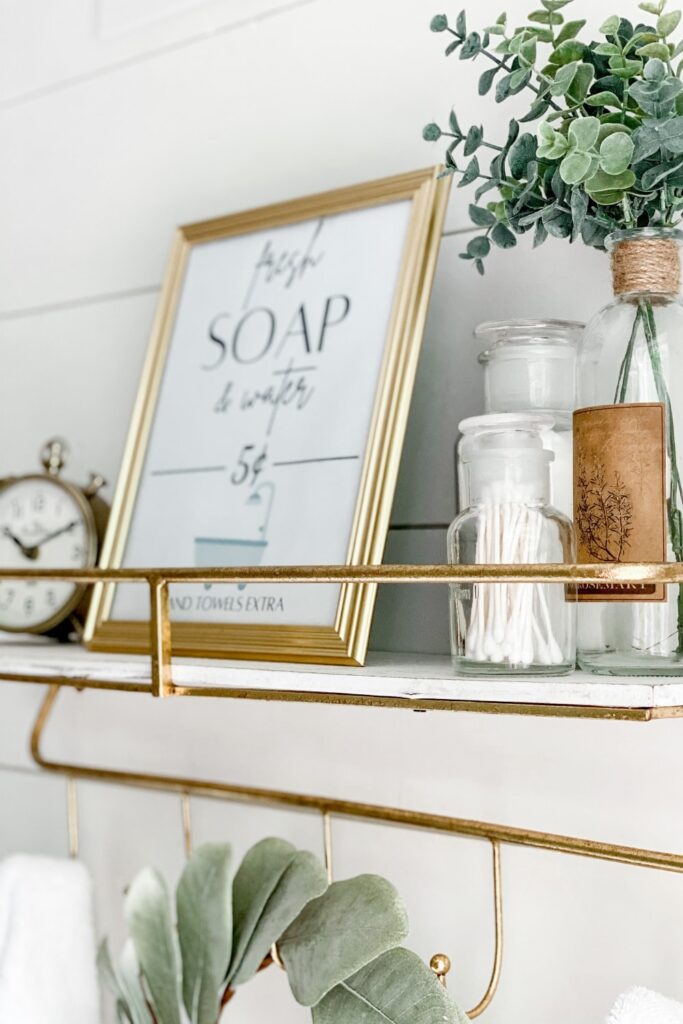
Check it out and let me know what you think, prepare yourself for lots of pictures too lol. I started with a couple of the before and after pictures and then put a bunch of pictures at the end that show all of the details of our new bathroom!

I will be linking all of the items that I am able to throughout the post and will put them all together at the bottom as well! 

BEFORE

AFTER

You’ll notice as you look through these pictures, that we completely changed the layout of our bathroom. This was the number one reason for why it took so long. When we first started demo we had thought about doing it this way but originally decided to stick to what was already there. As time went on, we were having to give up a lot of the things we had dreamed of having, such as a bigger vanity, in order to keep it the same layout.

So we took plan A and threw it out the window and tada! I got my double vanity, my glass shower door AND was able to keep a decent size closet for some much needed storage. It may have taken us quite a bit longer (and costed us a bit more) to completely flip the bathroom but it was all worth it in the end (I hope my husband agrees and knows how much I appreciate all his hard work hehe).

BEFORE

AFTER

I am SO glad we got rid of that horrid tub wall surround and shower curtain and went with the tile and glass instead! Scroll down a little to see what the full shower looks like now on the other corner of the room! 

The whole vanity area is one of my favorite parts! The vanity comes with your standard silver faucets and knobs but we had to be extra and switch everything out for gold, which brings me to my first renovation tip! If you are looking to do a project on a budget, DO NOT CHOOSE ALL GOLD FIXTURES! I cannot stress this enough lol, it looks so nice but you definitely pay for it. Everything you see here is very affordable though. It is when you get to the shower fixtures that it becomes a pretty penny! I linked the knobs, handles, faucets, mirrors and lights below! The mirrors were actually where all of the gold came from, and I designed pretty much everything around them!

Also, can we talk about how good the barn door came out? I am in love! I searched for so long for a door that would work in this spot because it is kind of an odd area and we had to make some minor adjustments just to even make this one work, but she’s a beauty! I ended up finding someone local on craigslist that built the barn doors which made it soo affordable and he did a great job! The door has one coat of minwax dark walnut stain on it and 2 coats of poly on each size for durability!

BEFORE

AFTER

Anyone notice something major missing?! I could not stand the look of the cast iron base board radiators that we have throughout our house, they are sooo ugly and are a real pain to decorate around. So we decided to add in radiant floor heating ahhh. Once again, super extra but what can I say, we went all out with it lol. Can’t wait to test it out this Winter!

The trashcan was another little DIY project of mine, if you look at the picture below you can see that it used to be more of an oil rubbed bronze, so I spray painted it gold to re-purpose it and love how it looks in the space!

BEFORE

AFTER

Moving the shower to this side was A PROJECT. With the roof being there we had to bump the tub out quite a ways so that you wouldn’t hit your head when you stood in the shower. It added a cute little bench seat which also means extra spots to put stuff if needed so I was totally okay with it!

If you are doing a project as major as this, I highly recommend hiring a tile pro to do your tile instead of trying to DIY it yourself. This will 1, cover yourself in case anything goes wrong and 2, will save you money in the end if you ended up having to tear the tile up for any reason due to leaks or damage. The guy we used is the best of the best and it was spendy but it was a complicated project due to the room being super unlevel. He knew his stuff and he came in and made it look perfect! 

The tile that we used is the Impero Statuario Ceramic Tile, we got it from Best Tile but it is carried at most big tile suppliers. It was very affordable for how luxurious it looks and it came in a matching floor and wall tile so we were sold! The bench slab and the 2 wall shelves were custom cut from a tile shop! I linked 2 VERY similar tile options from Lowe’s and Home Depot below that are much cheaper but still look very nice!

These gold fixtures are what I am talking about when I say gold is the spendy route to go. First off, I found a total of like 2 shower doors (ones that were high quality) that had gold hardware and this one was out of stock for MONTHS! I searched daily so I wouldn’t miss it when it came back and I finally found this one! If we couldn’t get one we were going to go with this door in the black version to match the bard door rail hardware!

The shower fixtures were purchased  from Frank Webb home and the brand is DXV. I am not able to link them but they are amazing. If you scroll down to the other pictures you can see them in detail a little more.

BEFORE

AFTER

Every time I walk by this room, I always have to stop and stare at it. I would always dream of having a bathroom like this, but I never thought that I would actually have one in my house. 

This shiplap wall was done by my amazing husband and I am obsessed with how it came out! I should have done a DIY post on this but to be honest it was a lot of work. Don’t let those DIY posts fool you people lol. It is definitely something that can be done in a day but they make it look so easy!

BEFORE

AFTER

Alright enough of the before and after pictures, let’s get down to business now!

A lot of the fine detail items, such as the towel holder stand, the soap dispensers, the q-tip holder with the gold top, the clock, and the shelf above the toilet, were purchased at Home Goods so unfortunately I was not able to find them to link. 

I bought the gold 8×10 frame at the dollar store if you can believe it, and I made the fresh soap & water printable inside myself! If anyone likes it and wants a copy feel free to shoot me an email 🙂 One day I will have my free printables library up and running but today is not that day lol.

All of the wicker bins are from Home Goods/Marshalls/TJ Maxx/ etc. but I linked some almost exact ones below. I am obsessed with wicker everything, and when I saw these (way before we even started our bathroom) I knew they would be perfect in this exact closet that I pictured in my head. 

The shelves were made by the guy who did all the tile work, and we stained them using minwax dark walnut to match the door!

You can find the exact links to the cute chalkboard clothespins, the white woven baskets an the towels and washcloths!


Aren’t the shower fixtures beautiful! I am not able to fully link them but I linked the exact items below if you want to find a showroom near you that carries them! This is the Satin Brass Finish.

Shower Head: https://www.dxv.com/product/randall-water-saving-showerhead-arm-low-flow

Wall Mount Tub Filler with Hand Shower: https://www.dxv.com/product/randall-water-saving-wall-mount-bathtub-faucet-with-hand-shower

Shower Valve: https://www.dxv.com/product/randall-thermostatic-shower-valve-trim-with-cross-handle-by-dxv

I also linked the tub shower door we got, along with the matte black finish it comes in and the regular shower door options as well!

Oh and of coarse a shout out to my girl jojo for the amazing powder room sign (along with the apothecary glass jars) 😉 I actually found it half off at Target and knew immediately where it was going in the bathroom. 

I wish more than anything that I was able to link everything you see in this picture, especially this shelf! But I have been seeing them everywhere at Home Goods, so you might get lucky if you make a trip to your local store! The wreath was something I found at a local consignment shop but I tried to link a couple of similar ones at the bottom for y’all! You know me and the greenery accents, gotta have them! I also tried to find some similar gold analog clocks like the one I have pictured!

Well that’s a wrap folks! I hope you enjoyed the transformation just as much as I did! I compiled all of the exact links below that I could, along with some similar items + items that we almost ended up using! If I am missing anything and you are dying to know where it is from or would like me to find something similar feel free to drop a comment below!

As always, don’t forget to pin any or all of these pictures for some inspiration for later! A lot of these items are inexpensive and are an amazing way to spruce up a bathroom without having to go balls to the wall like we did lol. 

Now on to finishing the nursery, talk to y’all soon! Have an amazing weekend! 

Xoxo, Steph

Create your dream bathroom! I linked all of the products I used + some similar options!

2 Comments

Leave a Reply

Your email address will not be published. Required fields are marked *

This site uses Akismet to reduce spam. Learn how your comment data is processed.