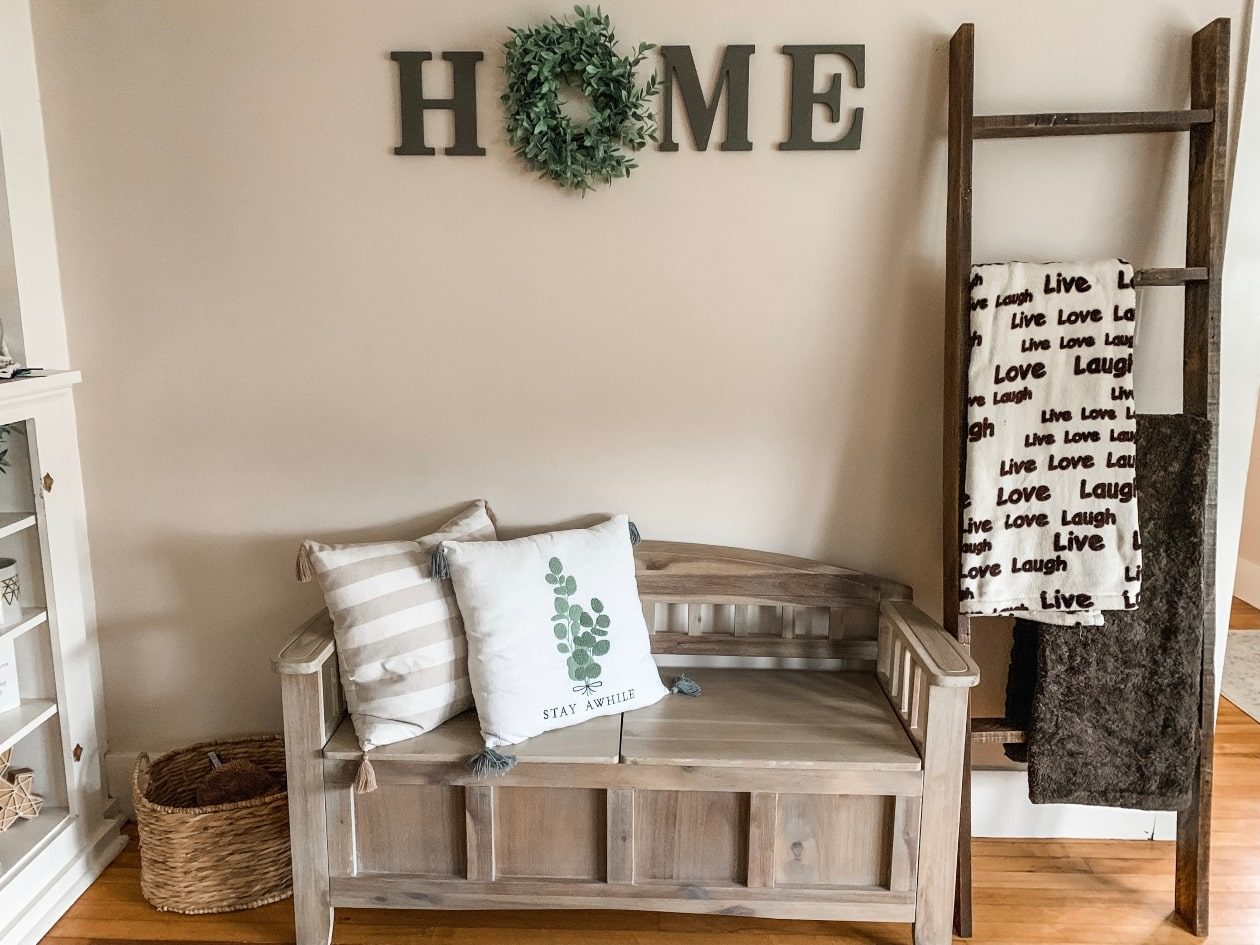
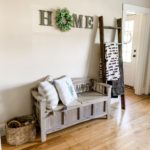
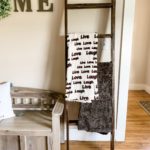
Hello Lovely people! Today on the blog I wanted to do a DIY feature of this wonderful pallet blanket ladder that I built recently. It is so simple, and the best thing about it is that if you have a majority of the supplies laying around it’s practically free! You heard me! That makes it almost impossible to say no to building one.
Everyone loves a cute ladder to hang their blankets on but NO ONE wants to spend a fortune to buy one. I think it’s crazy how much some places sell them for! It blows my mind!
On another note, I know that not everyone has all of these tools just laying around but they sure do make the process significantly easier and if you are a frequent DIYer it may not be a bad idea to invest in some! But I made sure to note which ones are optional, just in case. Luckily, my husband happens to work in construction so we are never short any tools!
Alright, enough of that… Let’s get started!


8 Comments
Caitlin Read
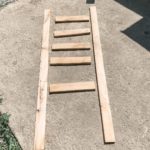
wow incredible 🙂 it looks like you used the pallet boards even when you didn’t. Amazing
Taylor Lobo
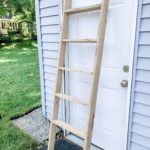
I love the pictures you added during the steps. I am such a visual person and as much as I want to be that DIY girl I am not very creative. But this looks so easy and so cute! I can’t wait to try it!
Steph Read
Thank you! I would love to hear how it goes!
Sand
I’m definitely gonna give it a shot this weekend!
Steph Read
Awesome! Let me know how it turns out!
Pingback:
Linsey
I’m a newbie to DIY projects so this may sound silly. I can’t seem to find 1.5” x 3” wood at Home Depot. Do you think 1” x 3” would be ok?
Steph Read
Hi Linsey! 1″ x 3″ would work fine! You can really choose whatever size you would like, it just depends on what you want the final result to look like! 🙂 Just make sure to pre-drill the holes so that it doesn’t split the wood when you put the screws in!