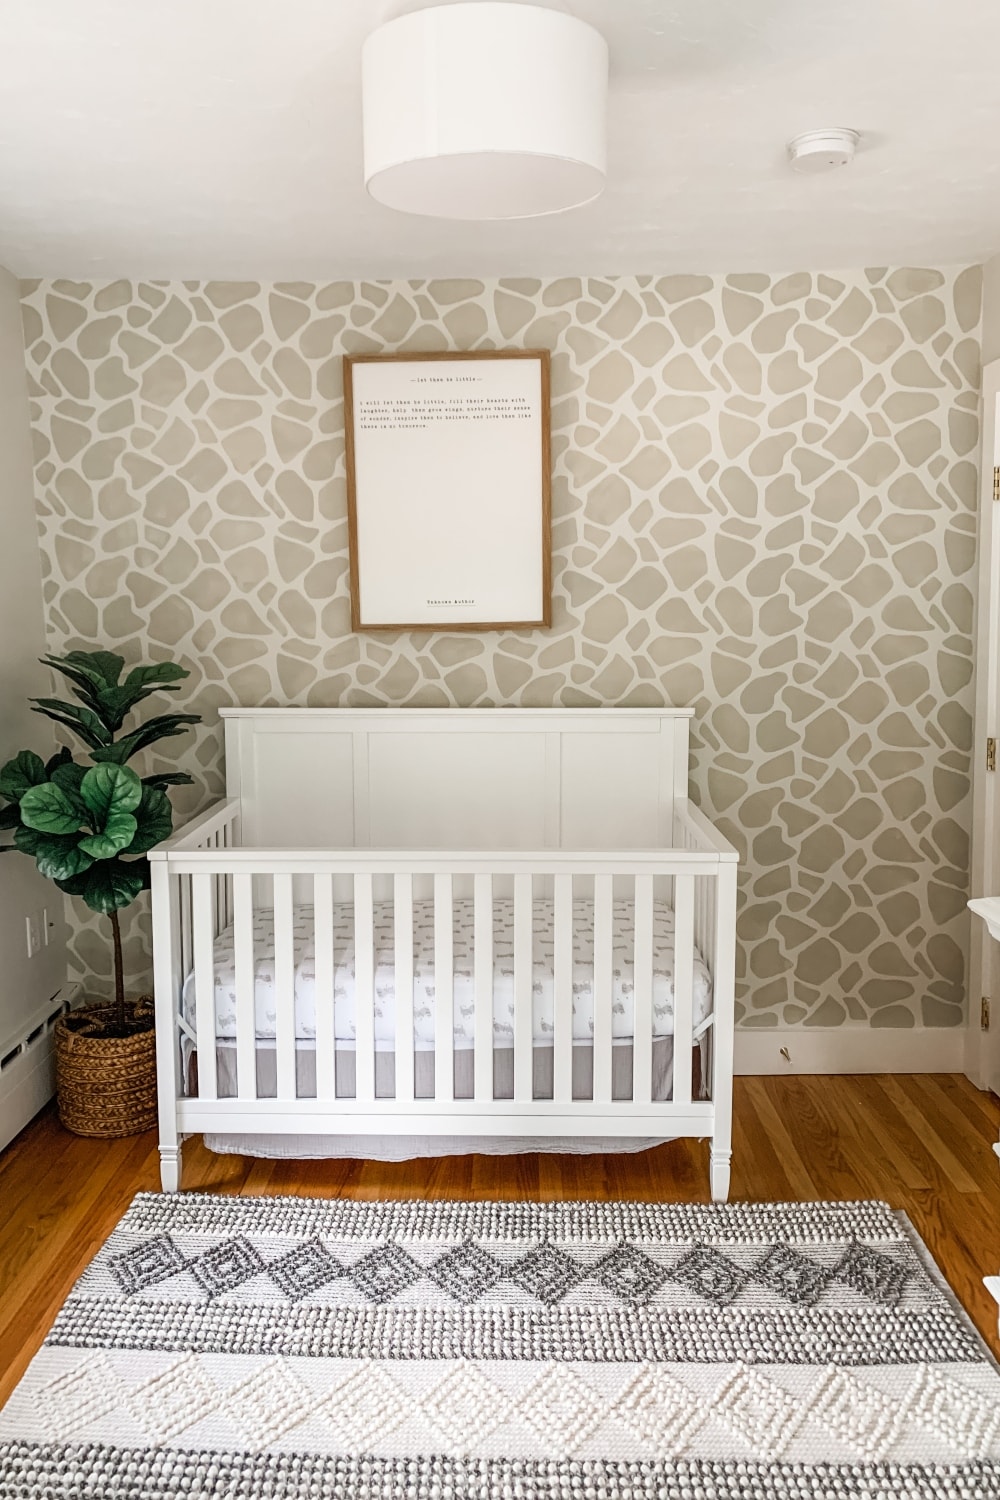
How to Transform a Room for Less with a Wall Stencil!

Hello friends! I wanted to share a little DIY project that I did last weekend in the nursery! I guess we can call this phase one of our Nursery reveal 😉 Which is actually perfect timing because today is the start of baby month ahhhh! I am 36 weeks today!? So wild that we only have a month (give or take) until we welcome our little one into the world!
When I first started thinking about designing the nursery I knew one thing for sure, and that was that I wanted to have an accent wall of some kind. Ideally it would make the most sense to start with the accent wall and design around it but since I am such a procrastinator we did things a littttle differently this go around.
I had my heart set on a wall paper, this one to be specific, but I quickly realized that it wasn’t really in the budget, nor did I want to spend that much when I knew I could figure something else out that would make just as big of an impression. I was only planning on doing one wall and couldn’t justify spending $500+ on it AND on top of that having to install the wallpaper myself. Not a chance. Being a kid once myself, I know that our little guys is going to want to change up his room at some point so I didn’t want to go too crazy.
Which is where the wall stencil comes into play! I searched high and low to find a stencil that I would just fall in love with and while I found quite a few that I really liked, none of them compared to the one I ended up going with. It was simple but bold all at the same time and it was exactly what I was looking for, and the price was right lol. For anyone searching for a great safari theme wall stencil I will link the one I used plus a couple other good ones I found below, along with some of my favorites that can be used in other rooms in your house! Who knows, this may not be the last accent wall I do!
Moral of the story before we get started is that a wall stencil will give you the same impression of wallpaper for 1/8th of the price (or less). When I shared the final product with everyone over on my Instagram, I had SO many people mistake it for wallpaper before they read the caption, I think that means it came out pretty good, right?!
This post contains affiliate links, for more information see my disclosure here. Thank you for supporting my blog!
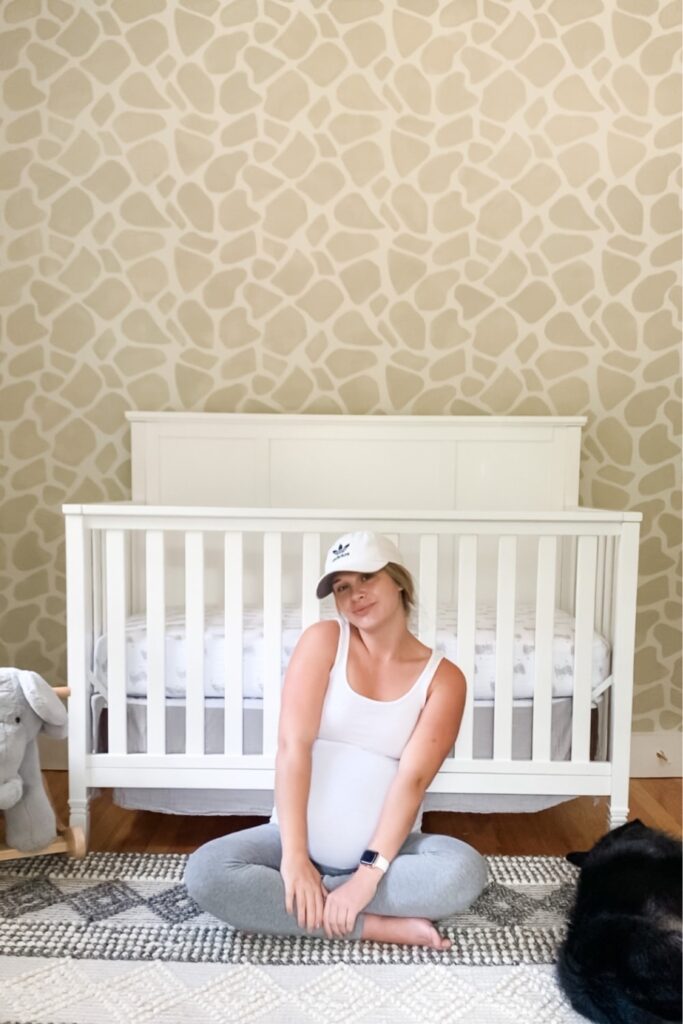
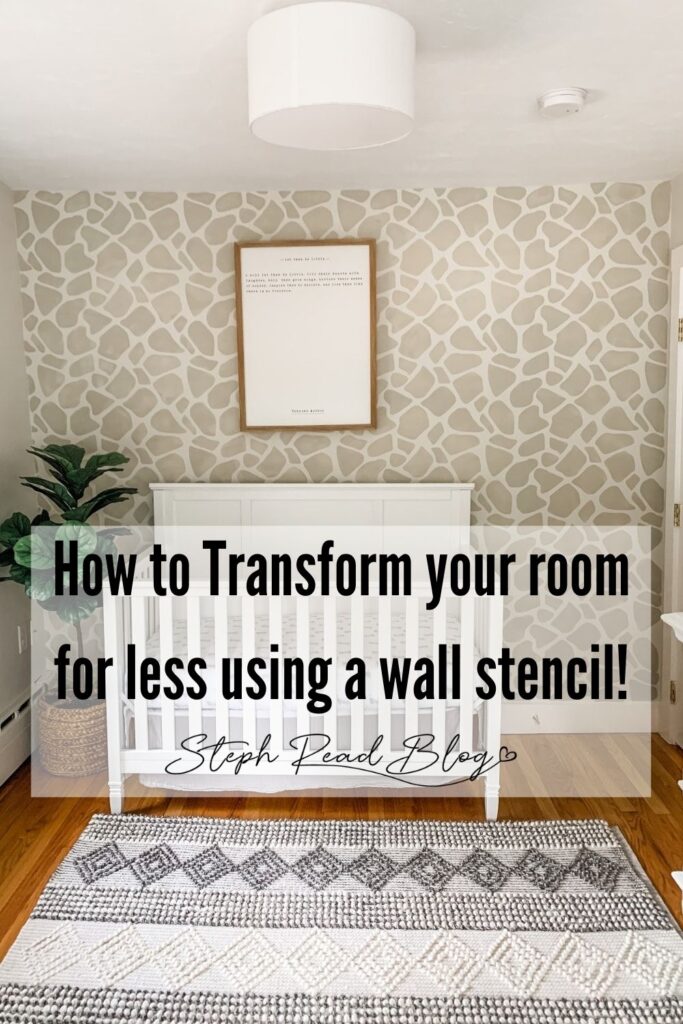
How to Transform your Room for Less with a Wall Stencil!
STEP ONE: Find the perfect wall stencil and paint colors
These all depend on the theme you are going for and how big of an impression you are trying to make!
Picking paint colors is the hardest part in my opinion, but that is probably because I am a super indecisive person lol. It took me so long to choose the color for the nursery walls but I am super happy with the one that I decided on! We ended up going with Old Prairie by Benjamin Moore for the walls and the trim and doors are Simply White by Benjamin Moore. Old Prairie is actually the color that is 2 shades up from simply white.
Picking the stencil color was tough but the first color that my eye went to was the shade up from the wall color, Camoflauge. Giraffe print in itself is already a pretty bold pattern for a wall so I wanted to offset it with a low key color. Sticking to a color on the same color strip helped tone it down and kept the undertones similar.
It is always smart to bring home a bunch of color sample strips from the store and narrow them down that way. Just don’t forget to look at them in all the different kinds of light. It is important to make sure that you like the color in natural light and with artificial light because you will be seeing a lot of both.
As far as the stencil goes, Etsy is an AMAZING resource to finding the perfect one! They have soo many to choose from. Just make sure to pay attention to the size to ensure you are getting one big enough to be suitable for painting a wall! I ended up going with the XL size and it was the perfect scale for the size of the project!
I linked a few options below that would be cute for a safari theme, as well as some other great ones! The first one below is the one I purchased!

STEP TWO: Prep the area and wall for stenciling
This step is important since this is the last step in the painting process and all of the other walls are already finished. Below are a couple of things that you will need to do along with the supplies that you will need:
- Cover the floor and baseboards – I used a large canvas drop cloth and ran it along the edge of the trim, securing it with painters tape. This covered all of the necessary areas.
- Remove outlet and light switch covers
- Make sure the wall you are painting is clean
- Optional: If you want to be extra cautious you can tape/cover the side walls and ceiling. I personally didn’t but did have to do a little bit of touch up on them after due to the paint on the top of the stencil touching the walls during transfer.
Supplies you will need:
- Tape or Repositionable Spray Adhesive, I used this masking tape
- Drop cloth (canvas or plastic works great!)
- dense foam roller or stencil brush (I used this 4 inch foam roller)
- Paint tray
- Paint
- Ladder, if needed

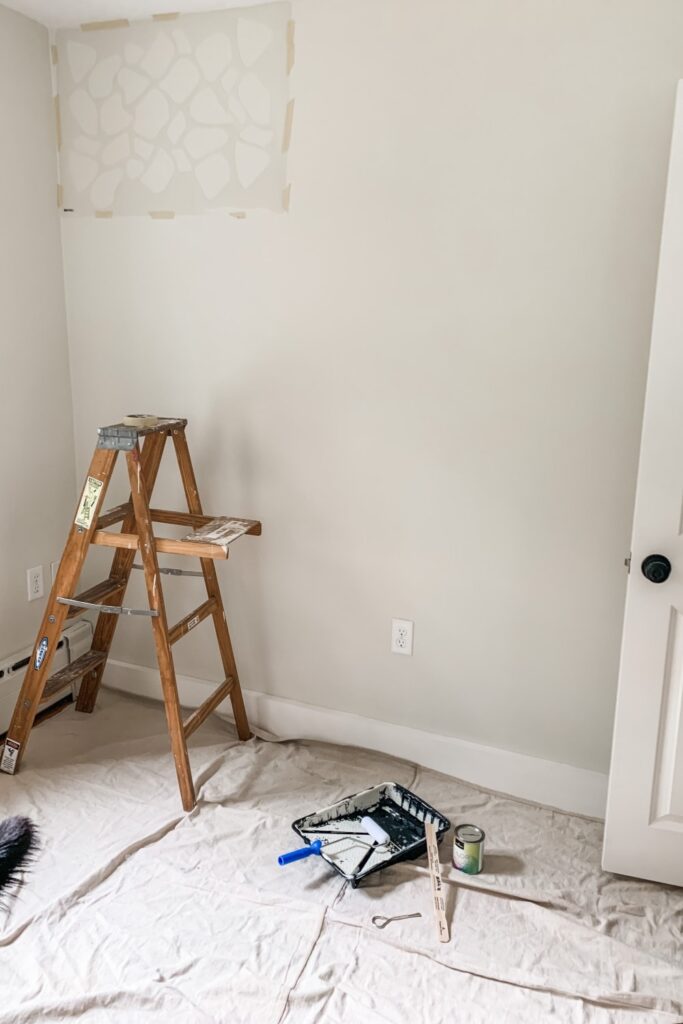
STEP THREE: Stencil your heart out
Now for the fun part! You can either use tape or spray adhesive to secure the stencil on the wall. I myself already had the tape so that is what I went with!
Start in one of the top corners, as seen above, and work your way down the wall. Once you finish the first column, move the stencil back up to the top and continue down the wall, see below for example. The stencil you choose should come with instructions but the top row should always match up with the last row painted so that the pattern can stay consistent.
The key when painting is LESS IS MORE! You don’t want to use to much paint or else it will seep through and you will have to touch it up in the end. If you notice this starts to happen at any point just wash the paint buildup off the stencil with soap and water really quick in the bathtub.
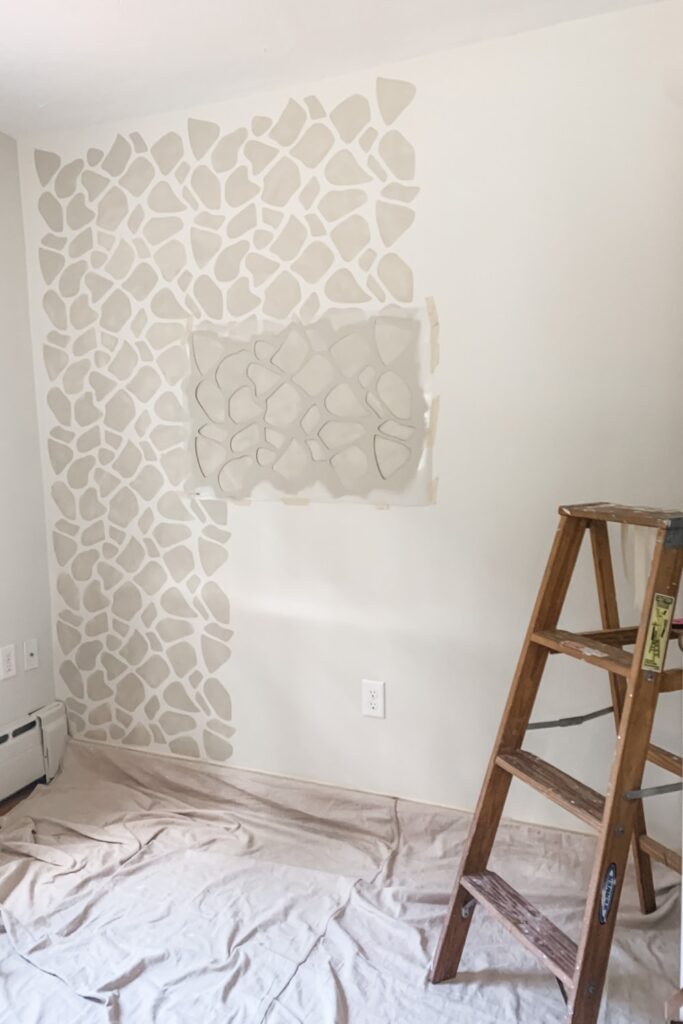
STEP FOUR: Touch up
The edges of the stencil leave the edges blank as you can see in the picture above. So I did some touch up to take the stencil all the way to the edges of the wall. This is definitely optional and could have probably been avoided had I folded the edges in the beginning but it wasn’t too bad overall.
Honestly, our whole house is so unlevel that it was already difficult enough to get the stencil started lol. So I just circled around in the end, which didn’t take too long but was a little messy!
Overall, this whole wall probably took me 3 hours from start to finish and it was totally worth it! What do y’all think?
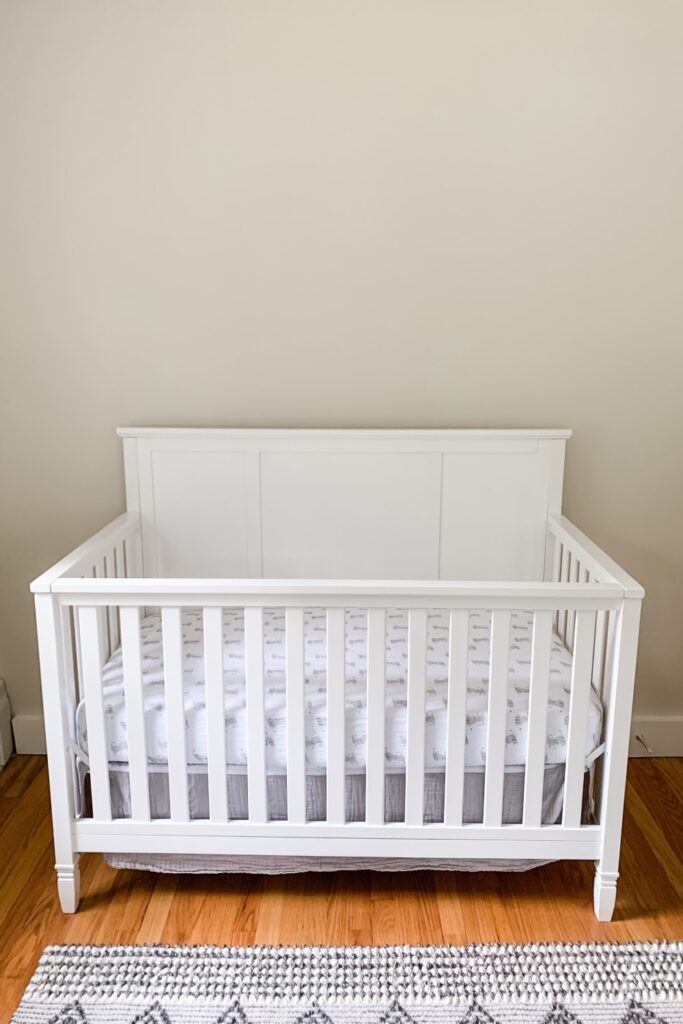
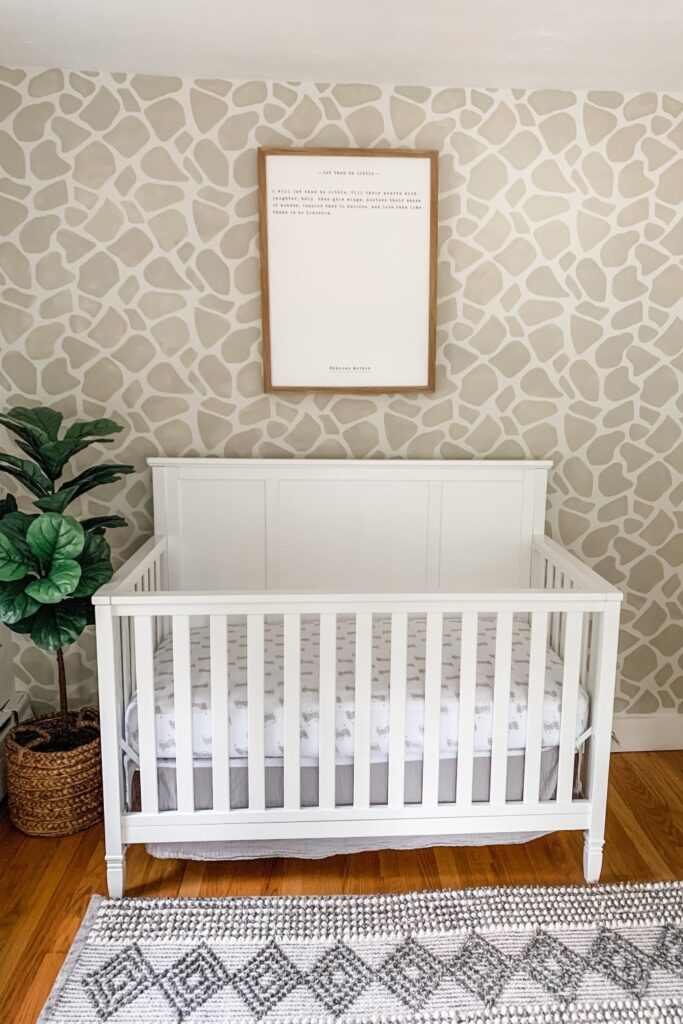
Here is the lovely before and after. Doesn’t the accent wall make the biggest difference?! It is crazy to think that this could have cost us $600 to do wallpaper compared to the $75 I spent on the stencil + materials. So glad I went this route!
If you have any questions at all about the process feel free to leave a comment below and I will do my best to help out!
The full nursery reveal will be up on the blog next week so make sure to subscribe if you aren’t already (I promise I don’t spam your email!) so that you don’t miss it! You can also follow me on Instagram to get all the updates on when the post is up!
Don’t forget to pin this post to come back to for reference on any future stenciling projects! Have a great weekend!

You May Also Like:
Modern Farmhouse Bathroom remodel: Before and After
August 8, 2020
How to make this DIY home sign with wreath
September 9, 2019


2 Comments
Olivia
Hey! I ordered the stencil and I’m going to order the paint. I’m wondering what line you chose: Ben, regal or aura. Also what finish did you choose on the paint? Did you do 1 or 2 coats !!
Steph Read
Hi Olivia, I am so sorry for my late reply! But I used Ben regal in eggshell and I just did one coat + any touch ups that were needed!